How to Choose the Best Solar Panel Kit for Your Needs?
Choosing a solar panel kit starts with one honest question: what do you need it to power? A small cabin, an RV, and a home backup system have different demands. A kit that handles lights and phone charging may struggle with a refrigerator or well pump. Make a simple list of appliances, their wattage, and daily use. Then estimate how many hours each runs. Real numbers beat guesswork.
Thomas Edison famously said, “I’d put my money on the sun and solar energy. What a source of power!” His words capture solar’s promise, but choosing equipment still takes careful comparison. Check the panel’s rated output, the charge controller, and the inverter’s continuous and surge capacity. If you need power after sunset, examine battery capacity too. A sunny roof helps. Shade from one chimney can still reduce production.
This guide will help you compare kit types, size a system, and assess installation needs. It will also explain which details deserve a closer look, including cable length, mounting hardware, warranties, and room for future expansion. Small things matter. A kit may look complete online, yet omit a battery or the connectors your setup requires. I would not treat any estimate as exact; weather, orientation, and real-world usage can change the result. Use the figures as a starting point, then confirm compatibility and safety requirements before buying.

Identify Your Power Needs and Intended Use
Start with the devices you need to run, not the panel kit’s advertised wattage. List each device, its running watts, and hours of daily use. A 40-watt light used for five hours consumes 200 watt-hours. A refrigerator may draw more at startup than its running label suggests, so check its manual or measure its actual use when possible. Small details matter.
The U.S. Energy Information Administration reports that residential customers used an average of 10,791 kilowatt-hours of electricity in 2022. That figure is useful context, but it is not a kit-sizing target: household averages conceal major differences in climate, home size, and habits. For a cabin or camper, total only the loads you expect to power. Add a margin for cloudy days and conversion losses, but avoid sizing around every appliance “just in case.” I still find this step easy to rush.
Next, match daily energy use to local sunlight and your intended setup. The National Renewable Energy Laboratory’s PVWatts tool estimates solar production using location and system details, including panel orientation. Compare its monthly estimates with your needs, especially during darker seasons. Also check whether the kit includes a battery, charge controller, and inverter suited to your loads. A kettle can overwhelm a small inverter. That’s easy to miss. Cite: EIA, Electric Power Annual; NREL, PVWatts Calculator.
Assess Sunlight, Space, and Installation Conditions
A solar kit’s rated wattage is not a promise of daily output. Start by tracking direct sunlight where the panels would sit, including shadows from chimneys, trees, and nearby buildings. Check the site at different times; a clear roof at noon may be shaded by late afternoon. Shadows matter. NREL’s PVWatts Calculator uses weather data and a default 14% system-loss assumption, reminding buyers that real output falls below ideal ratings. Treat its estimate as a planning tool, not a guarantee.
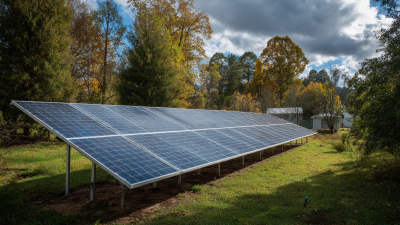
Next, measure usable space, not the entire roof or patio. Leave room for vents, safe access, and panel spacing, then compare that area with the kit’s panel dimensions. NREL’s 2016 Rooftop Solar Photovoltaic Technical Potential in the United States report estimated 1,118 gigawatts of rooftop capacity nationwide, but that broad figure says little about one shaded or cluttered roof. Check roof condition, mounting points, cable routes, and whether the kit supports your intended setup. A ground-mounted kit may need a level, unshaded area and secure anchoring. Measure twice. A neat sketch can still miss a winter shadow or awkward cable run, so verify the layout on site before ordering.
How to Choose the Best Solar Panel Kit for Your Needs
Assess sunlight, available space, and installation conditions before choosing a kit. The chart estimates daily energy from a 400 W panel at different peak sun hours.
How to use this estimate: Values assume 80% system efficiency to account for typical losses: 400 W × peak sun hours × 0.8. Actual output varies with location, season, shading, panel orientation, and equipment. A 400 W panel commonly requires about 2 m² of panel area; allow additional space for access and roof clearances. Check that the mounting surface, wiring route, and electrical setup are suitable, and follow local requirements.
Compare Panel Types, Output, and Kit Components
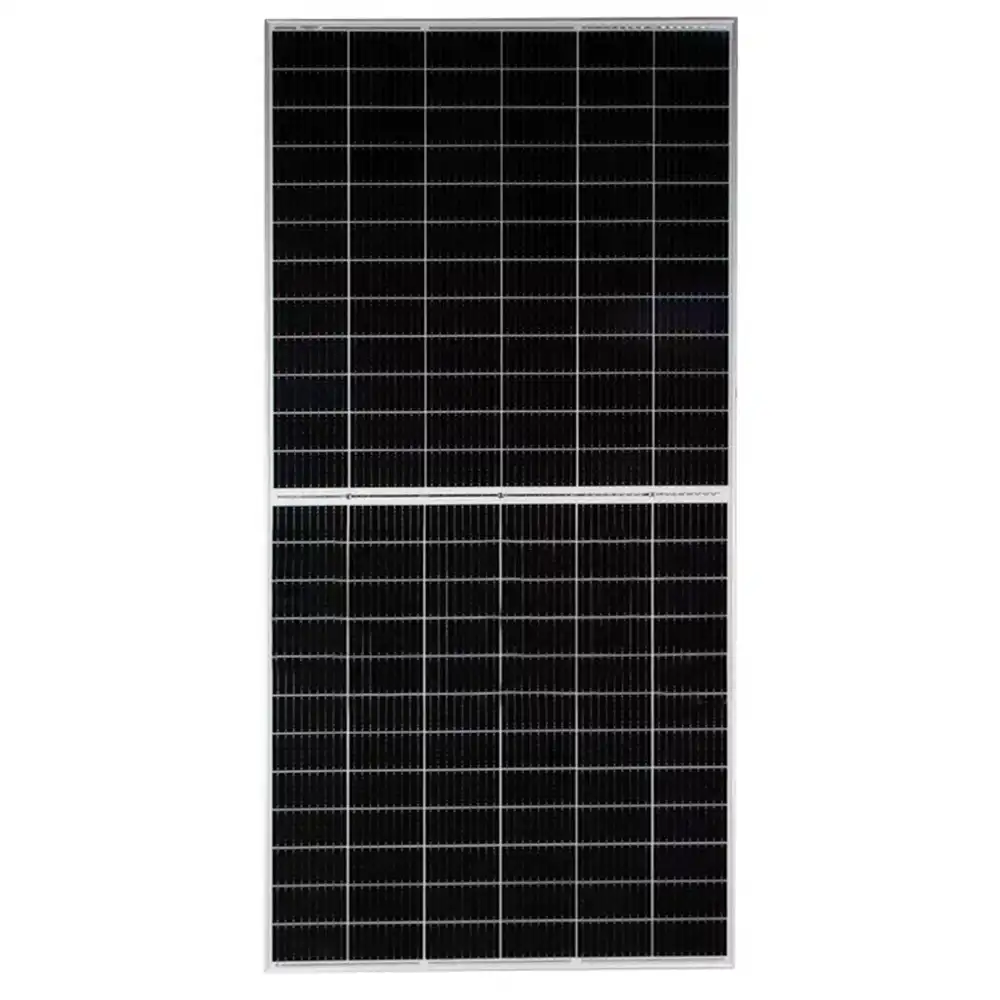
Choosing a solar kit starts with matching panel type to available space, sunlight, and portability. Monocrystalline panels usually provide more power per square foot, which helps on a small cabin roof or camper. Polycrystalline panels may cost less but often need more area for similar rated output. Thin-film panels are lightweight and flexible, though their lower efficiency can require a larger surface. That trade-off matters.
A panel’s watt rating describes performance under test conditions, not guaranteed daily energy. Check expected sun hours, seasonal shade, roof direction, and weather before estimating output. A 400-watt panel will not produce 400 watts all day. Even a small tree shadow across one corner can reduce production. Estimates can be optimistic, so leave some margin.
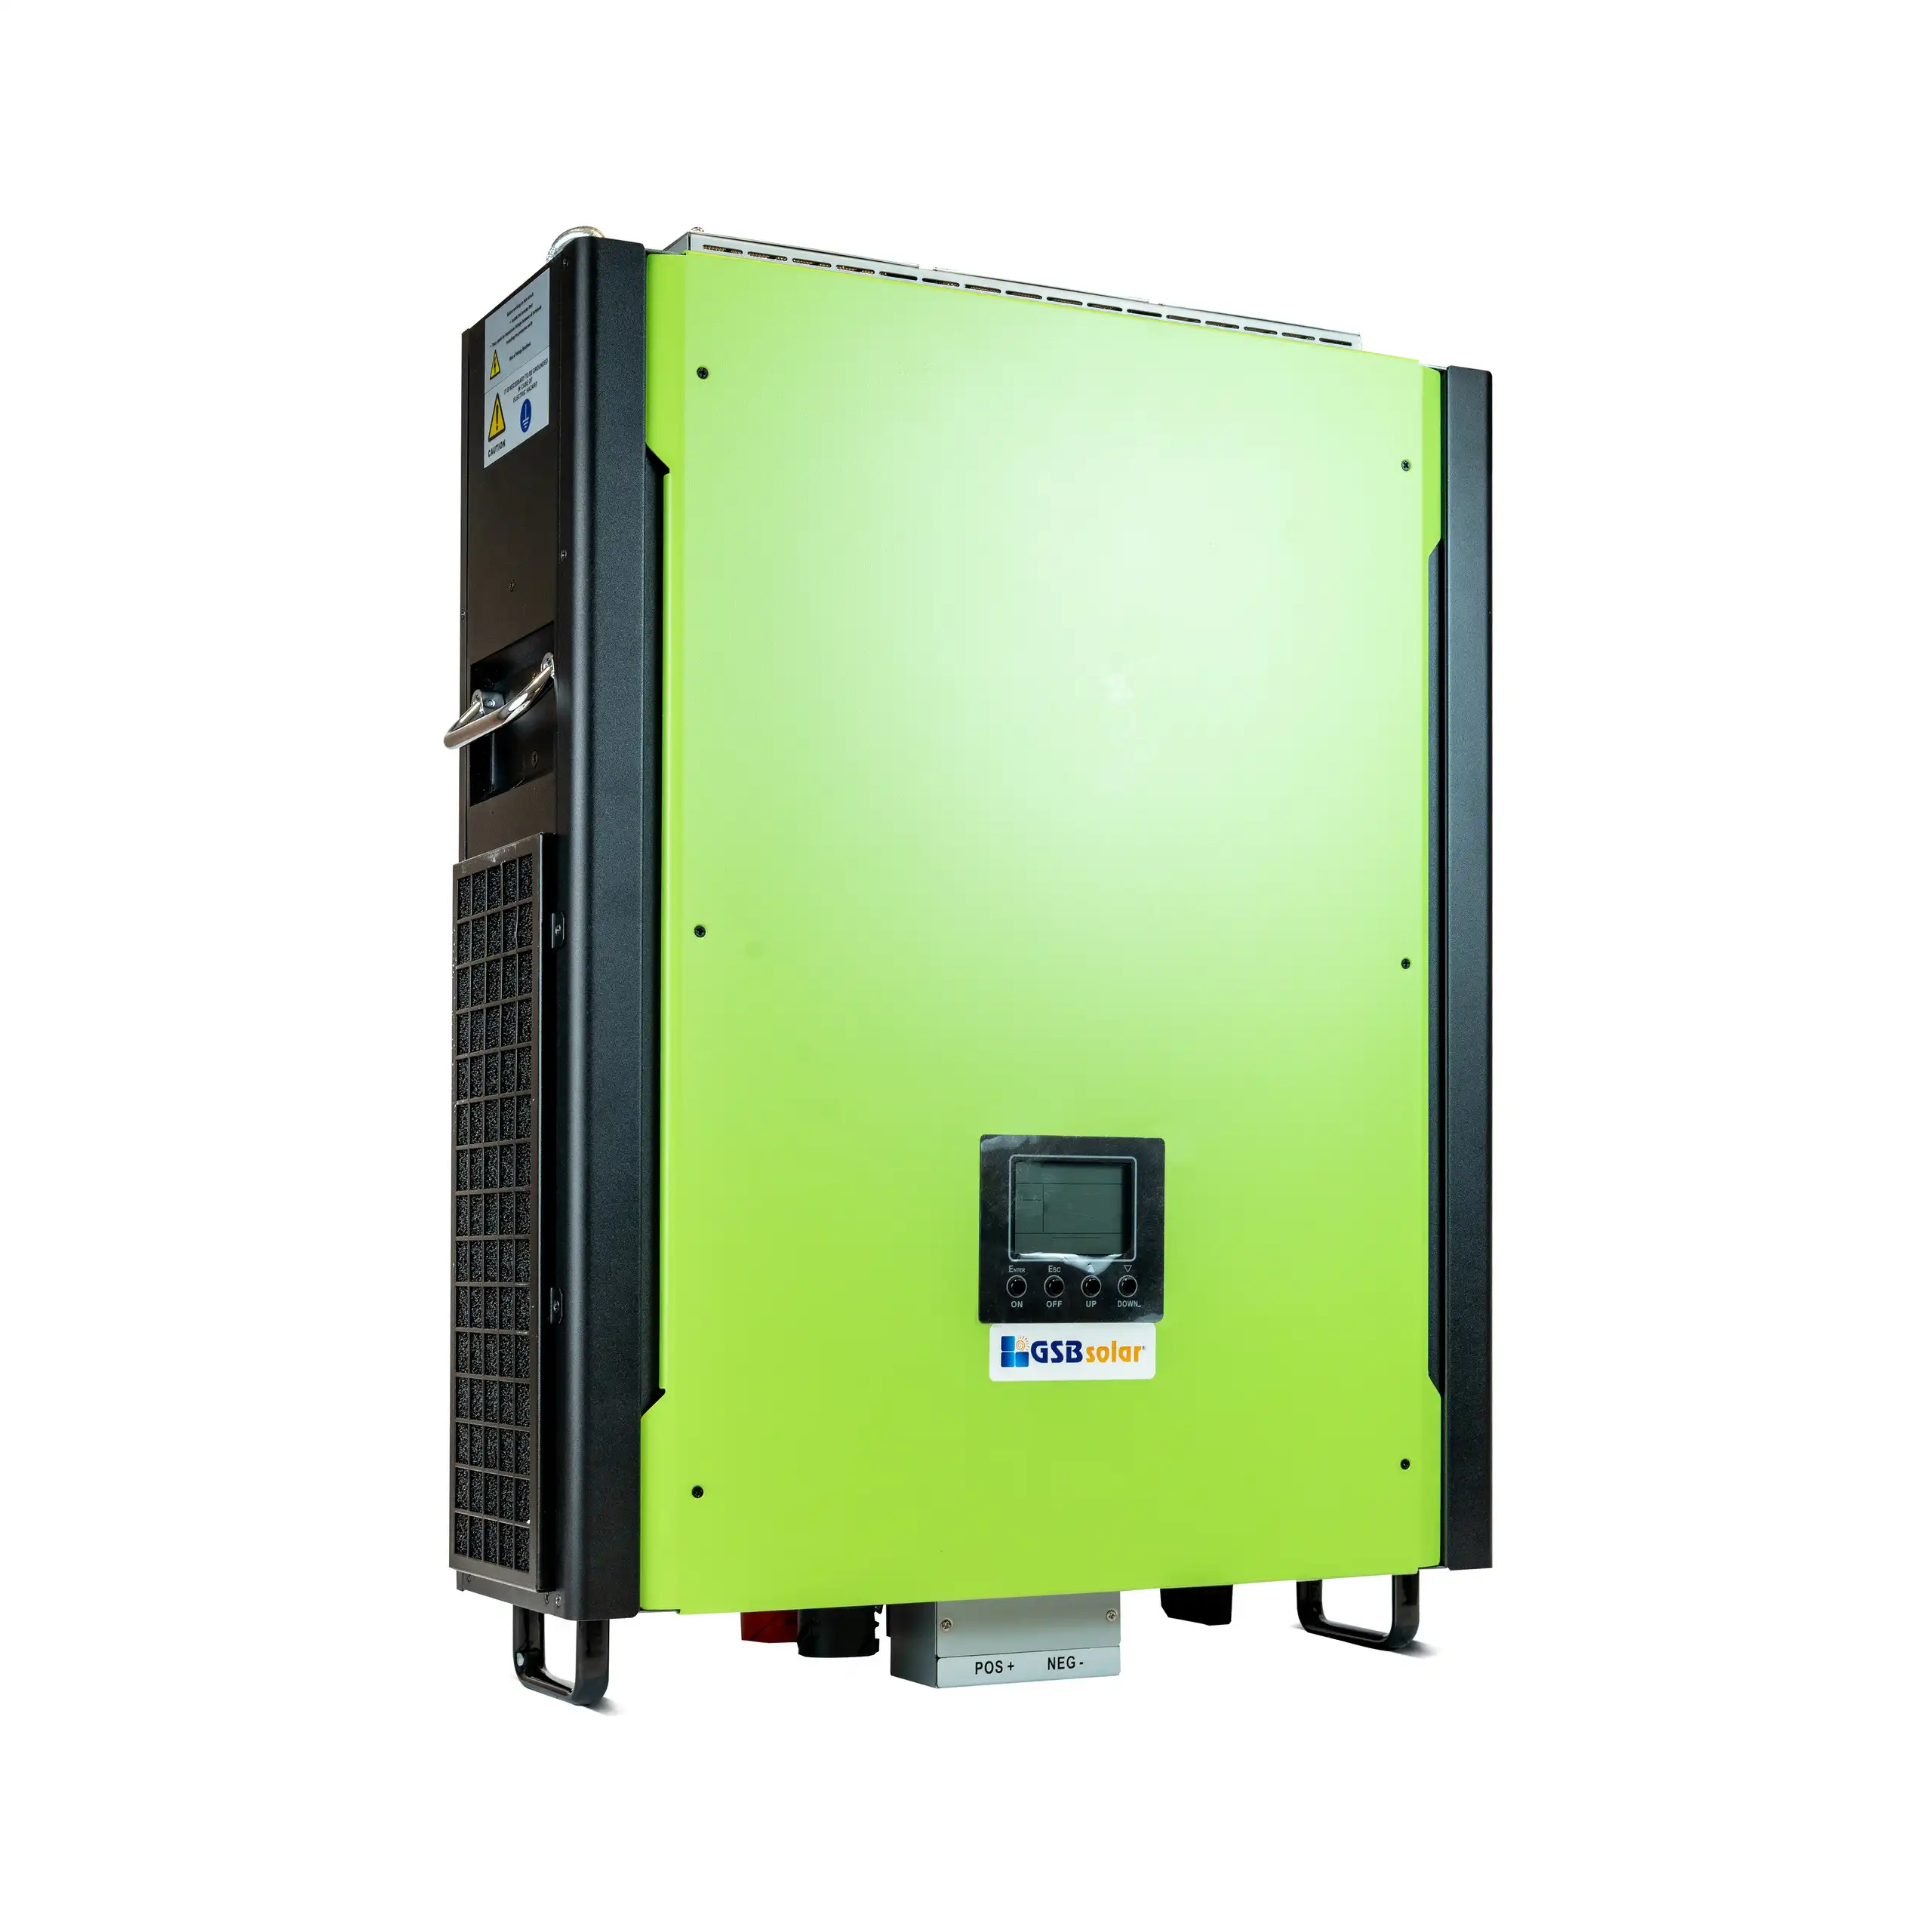
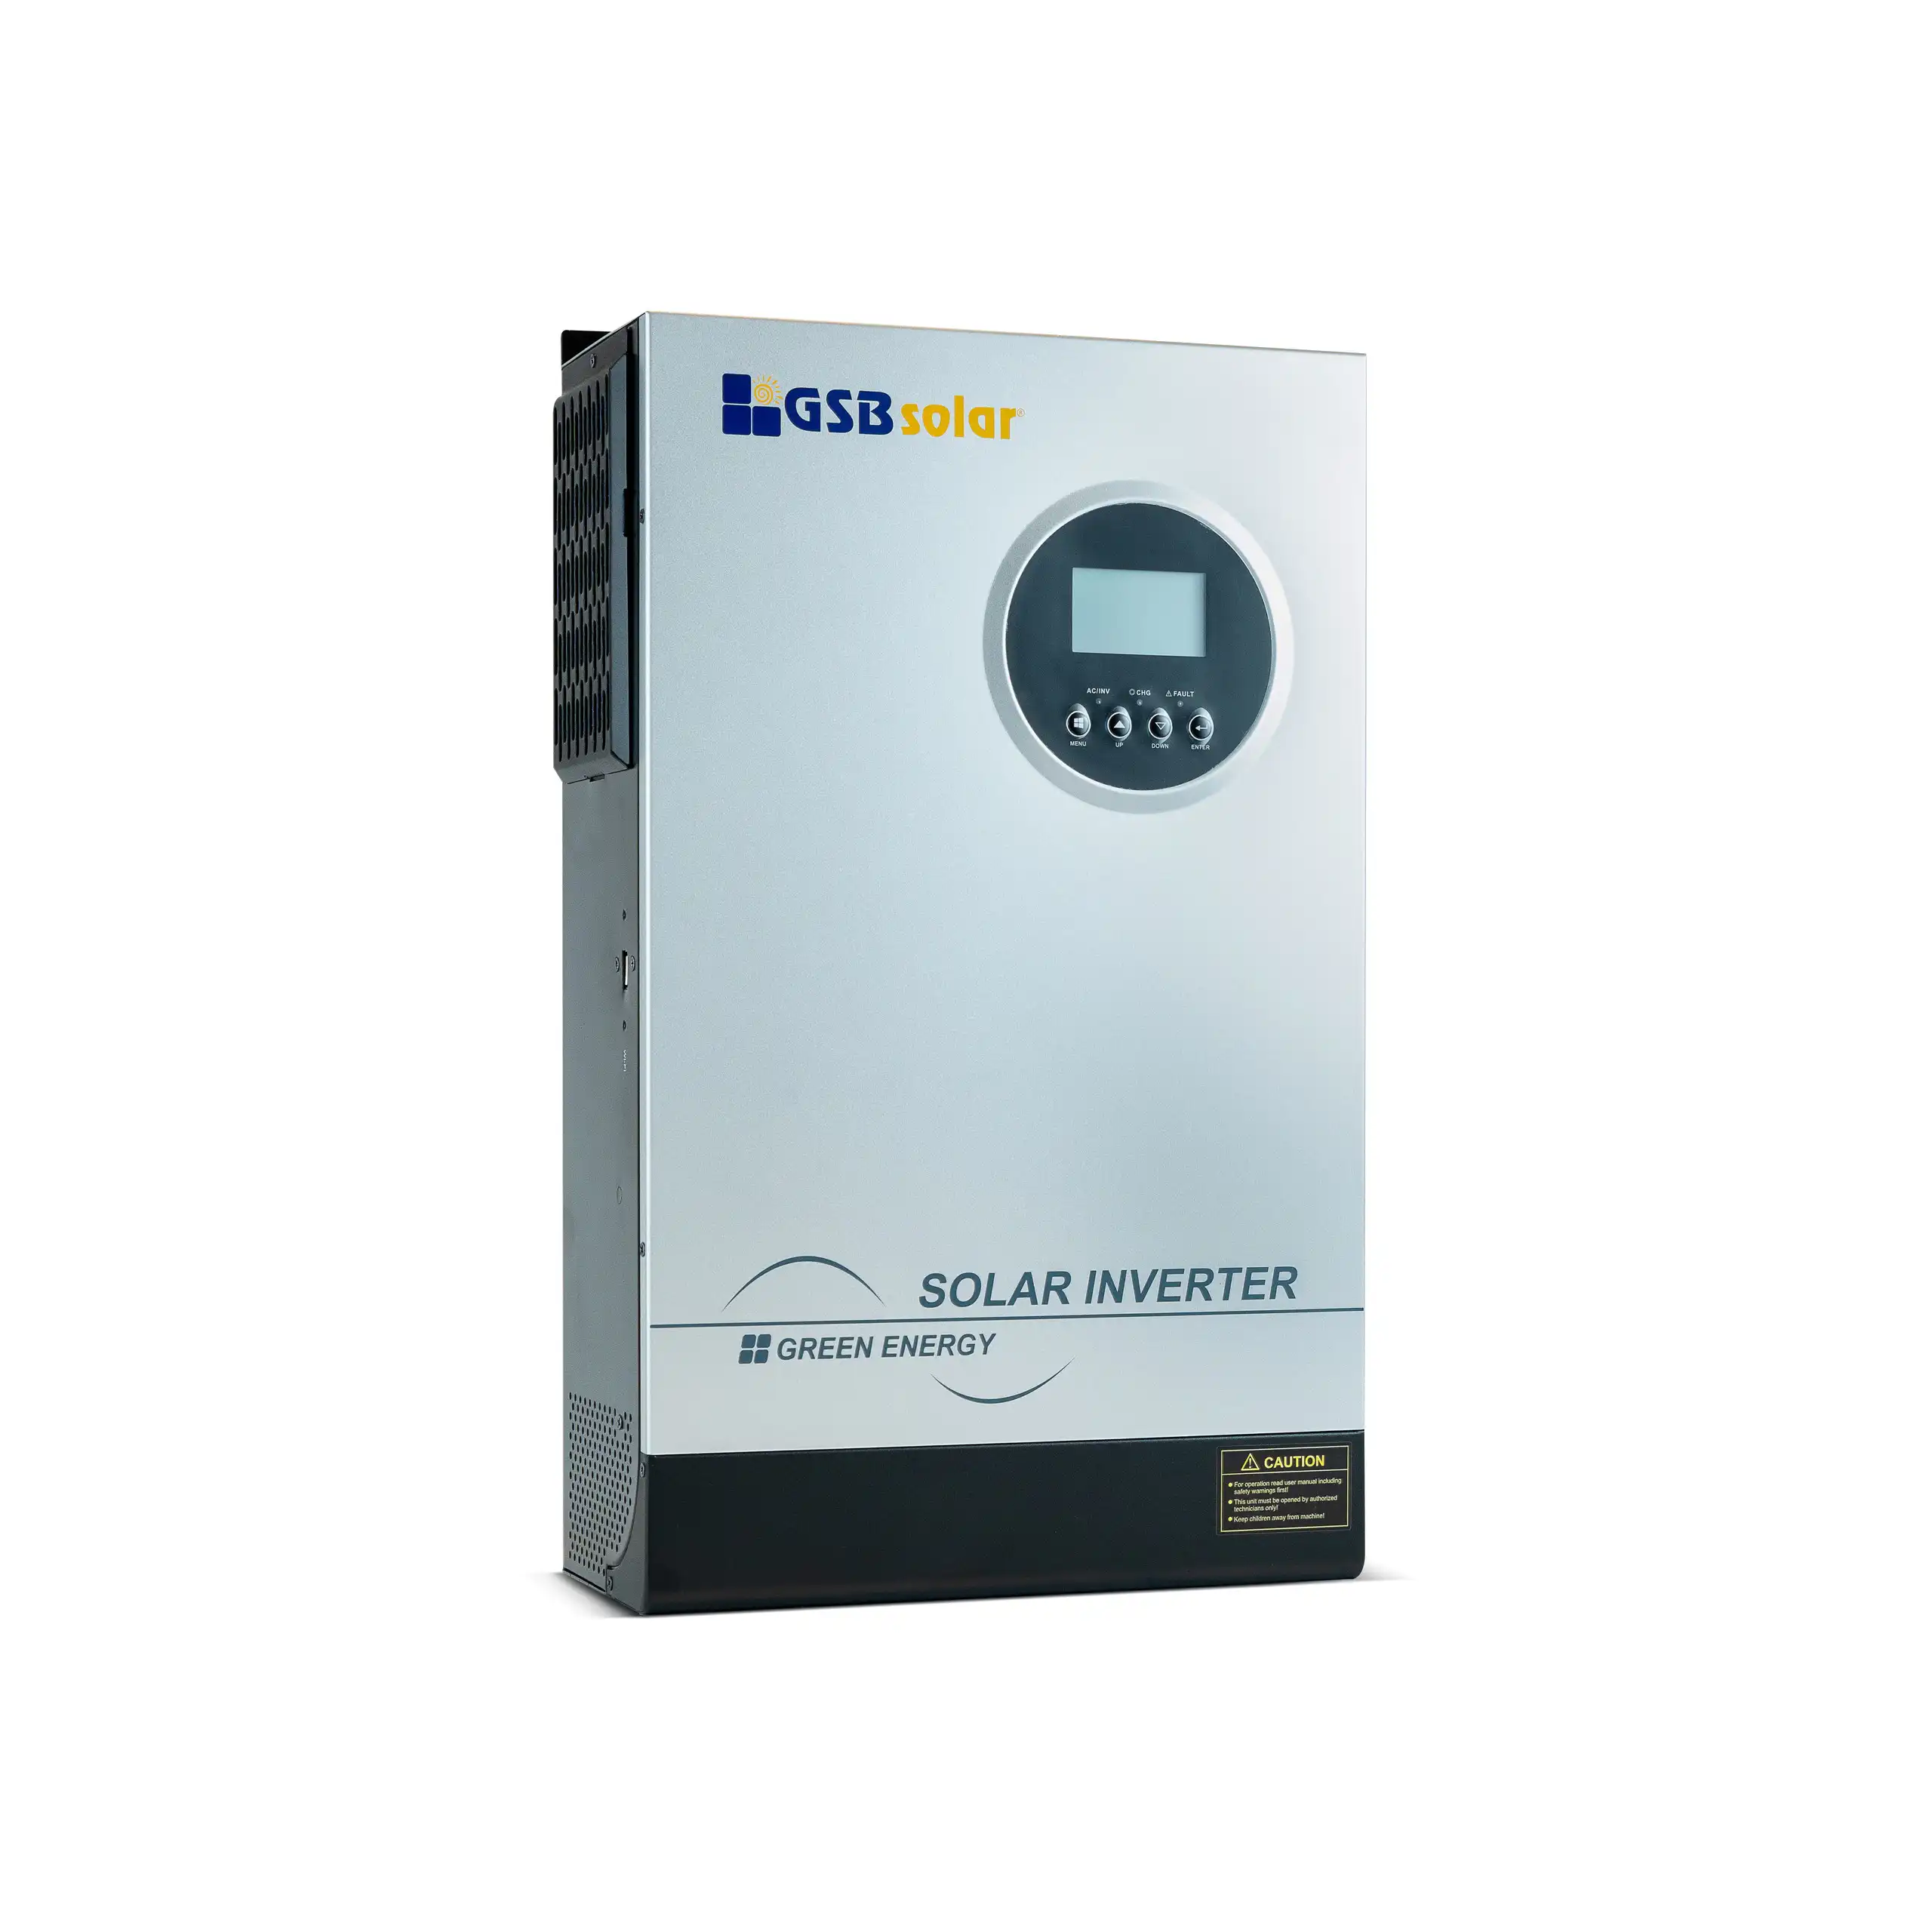
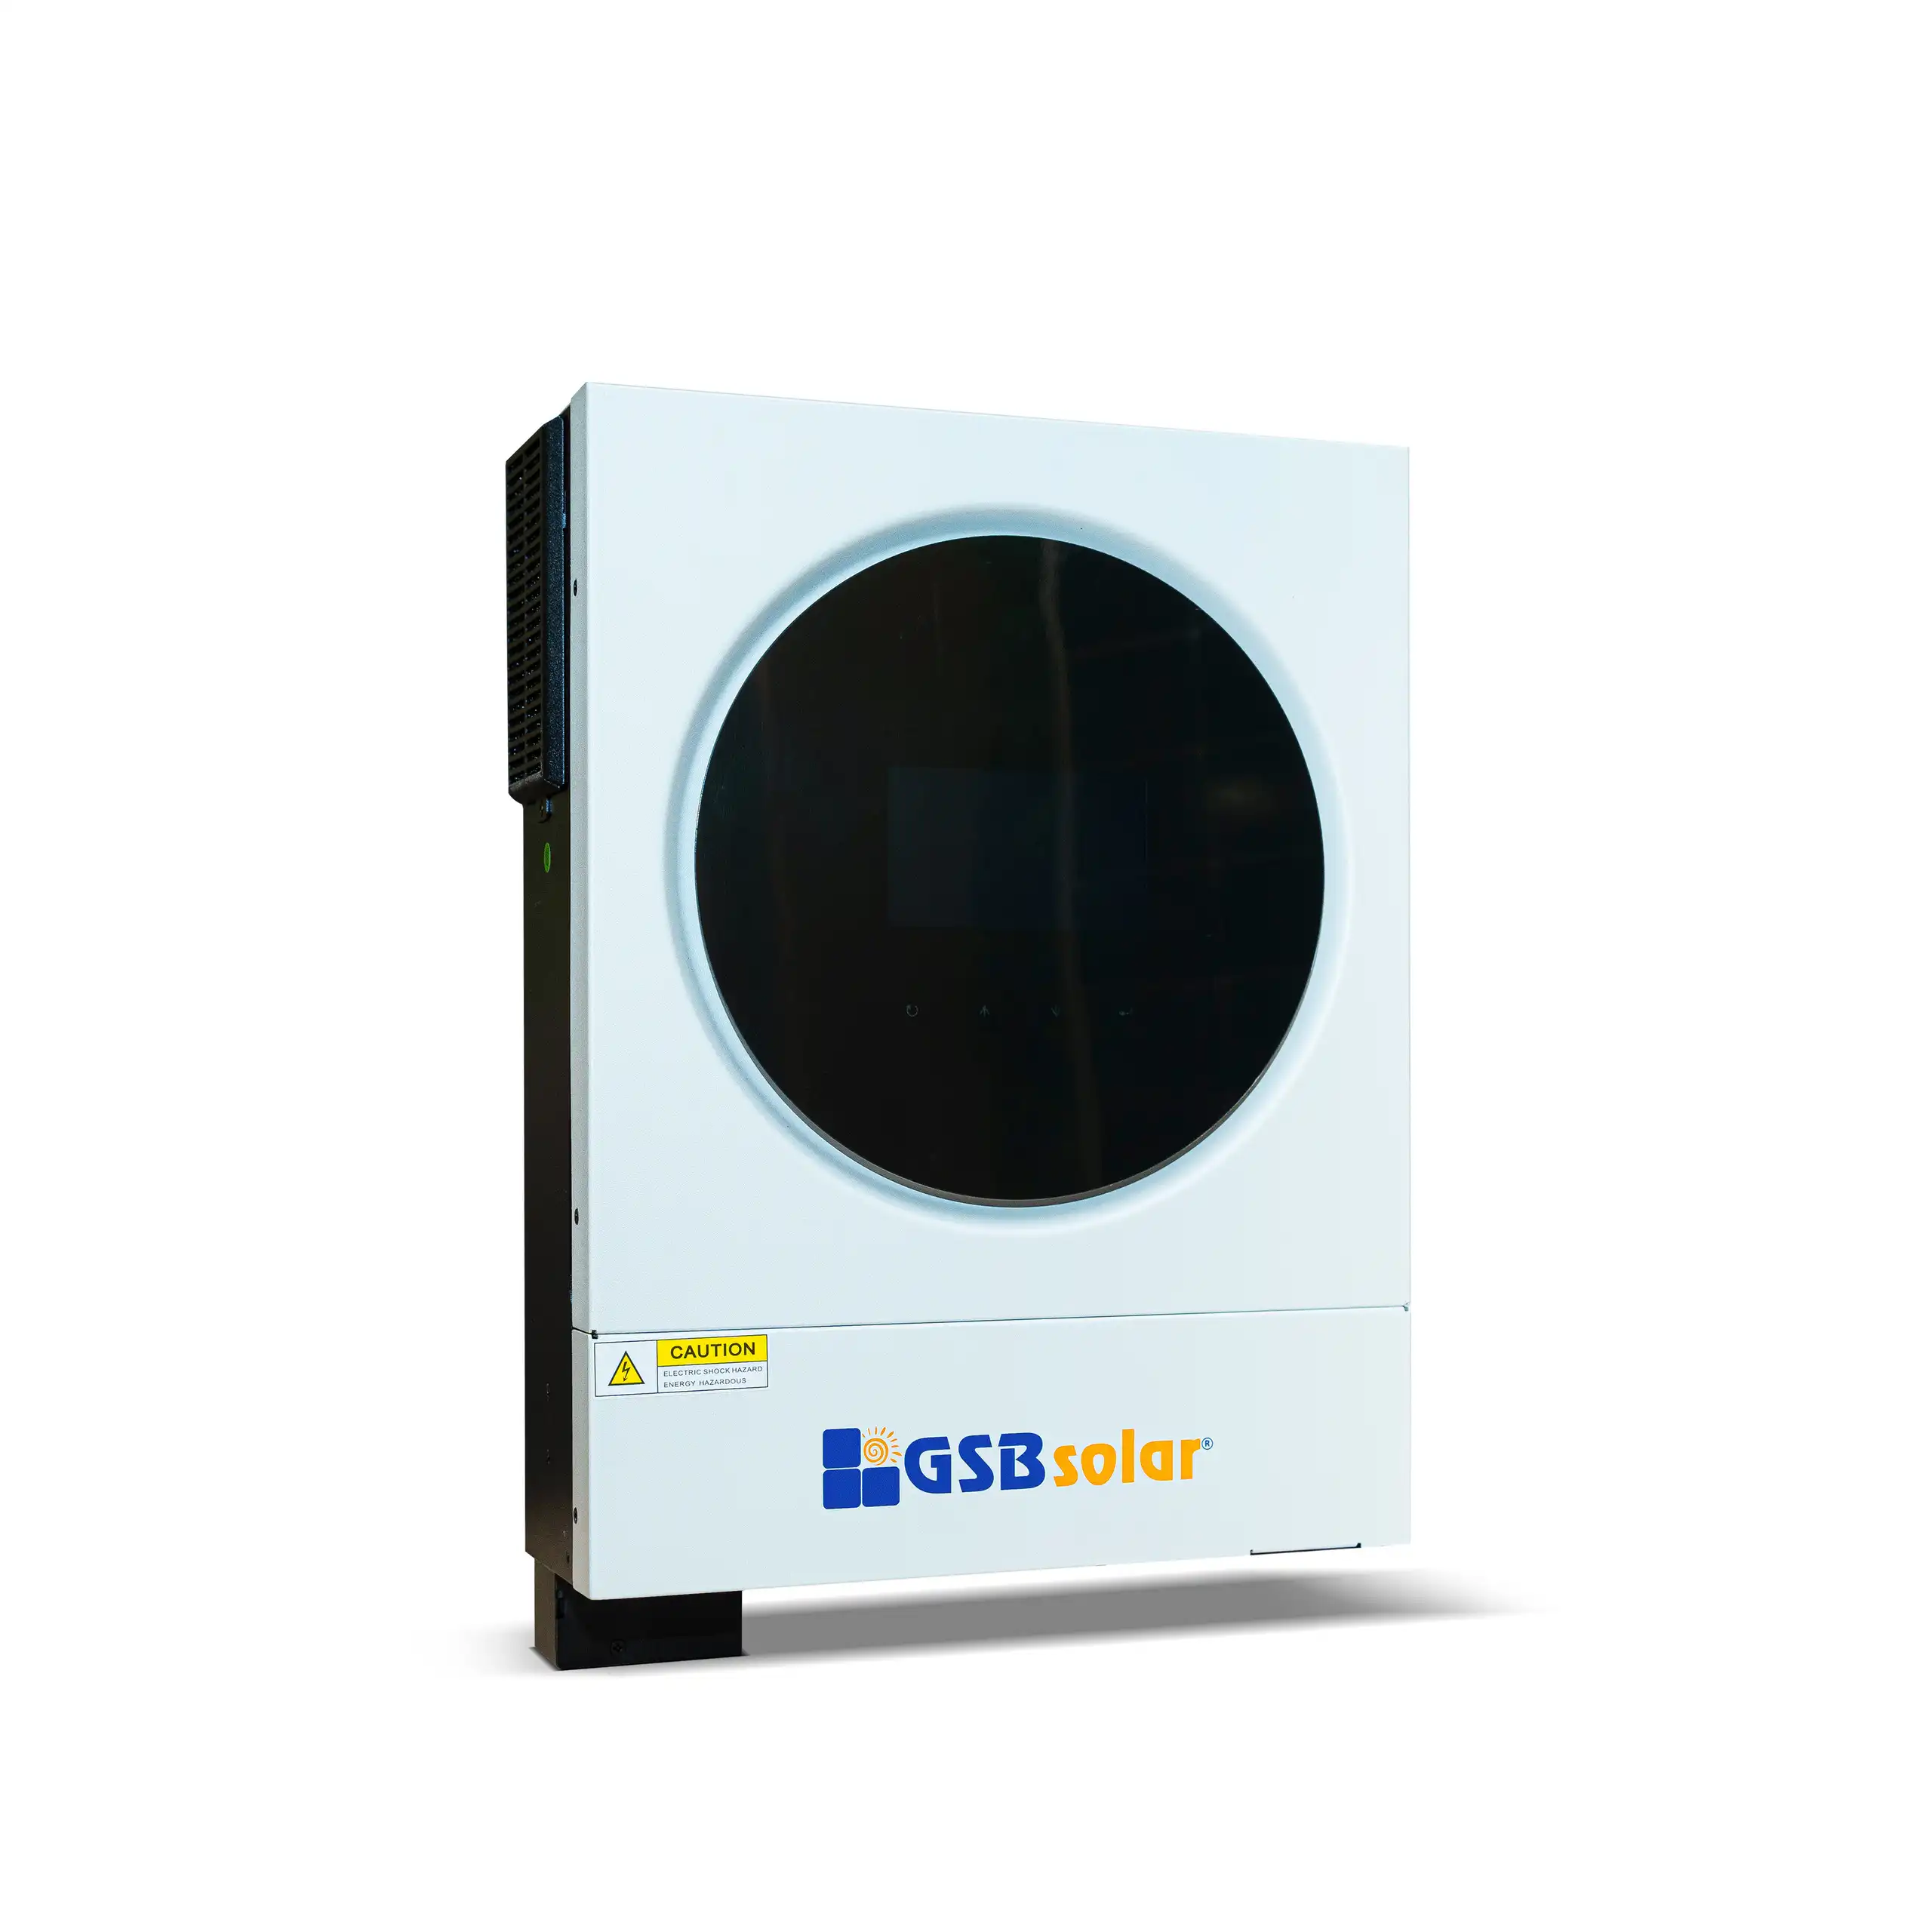
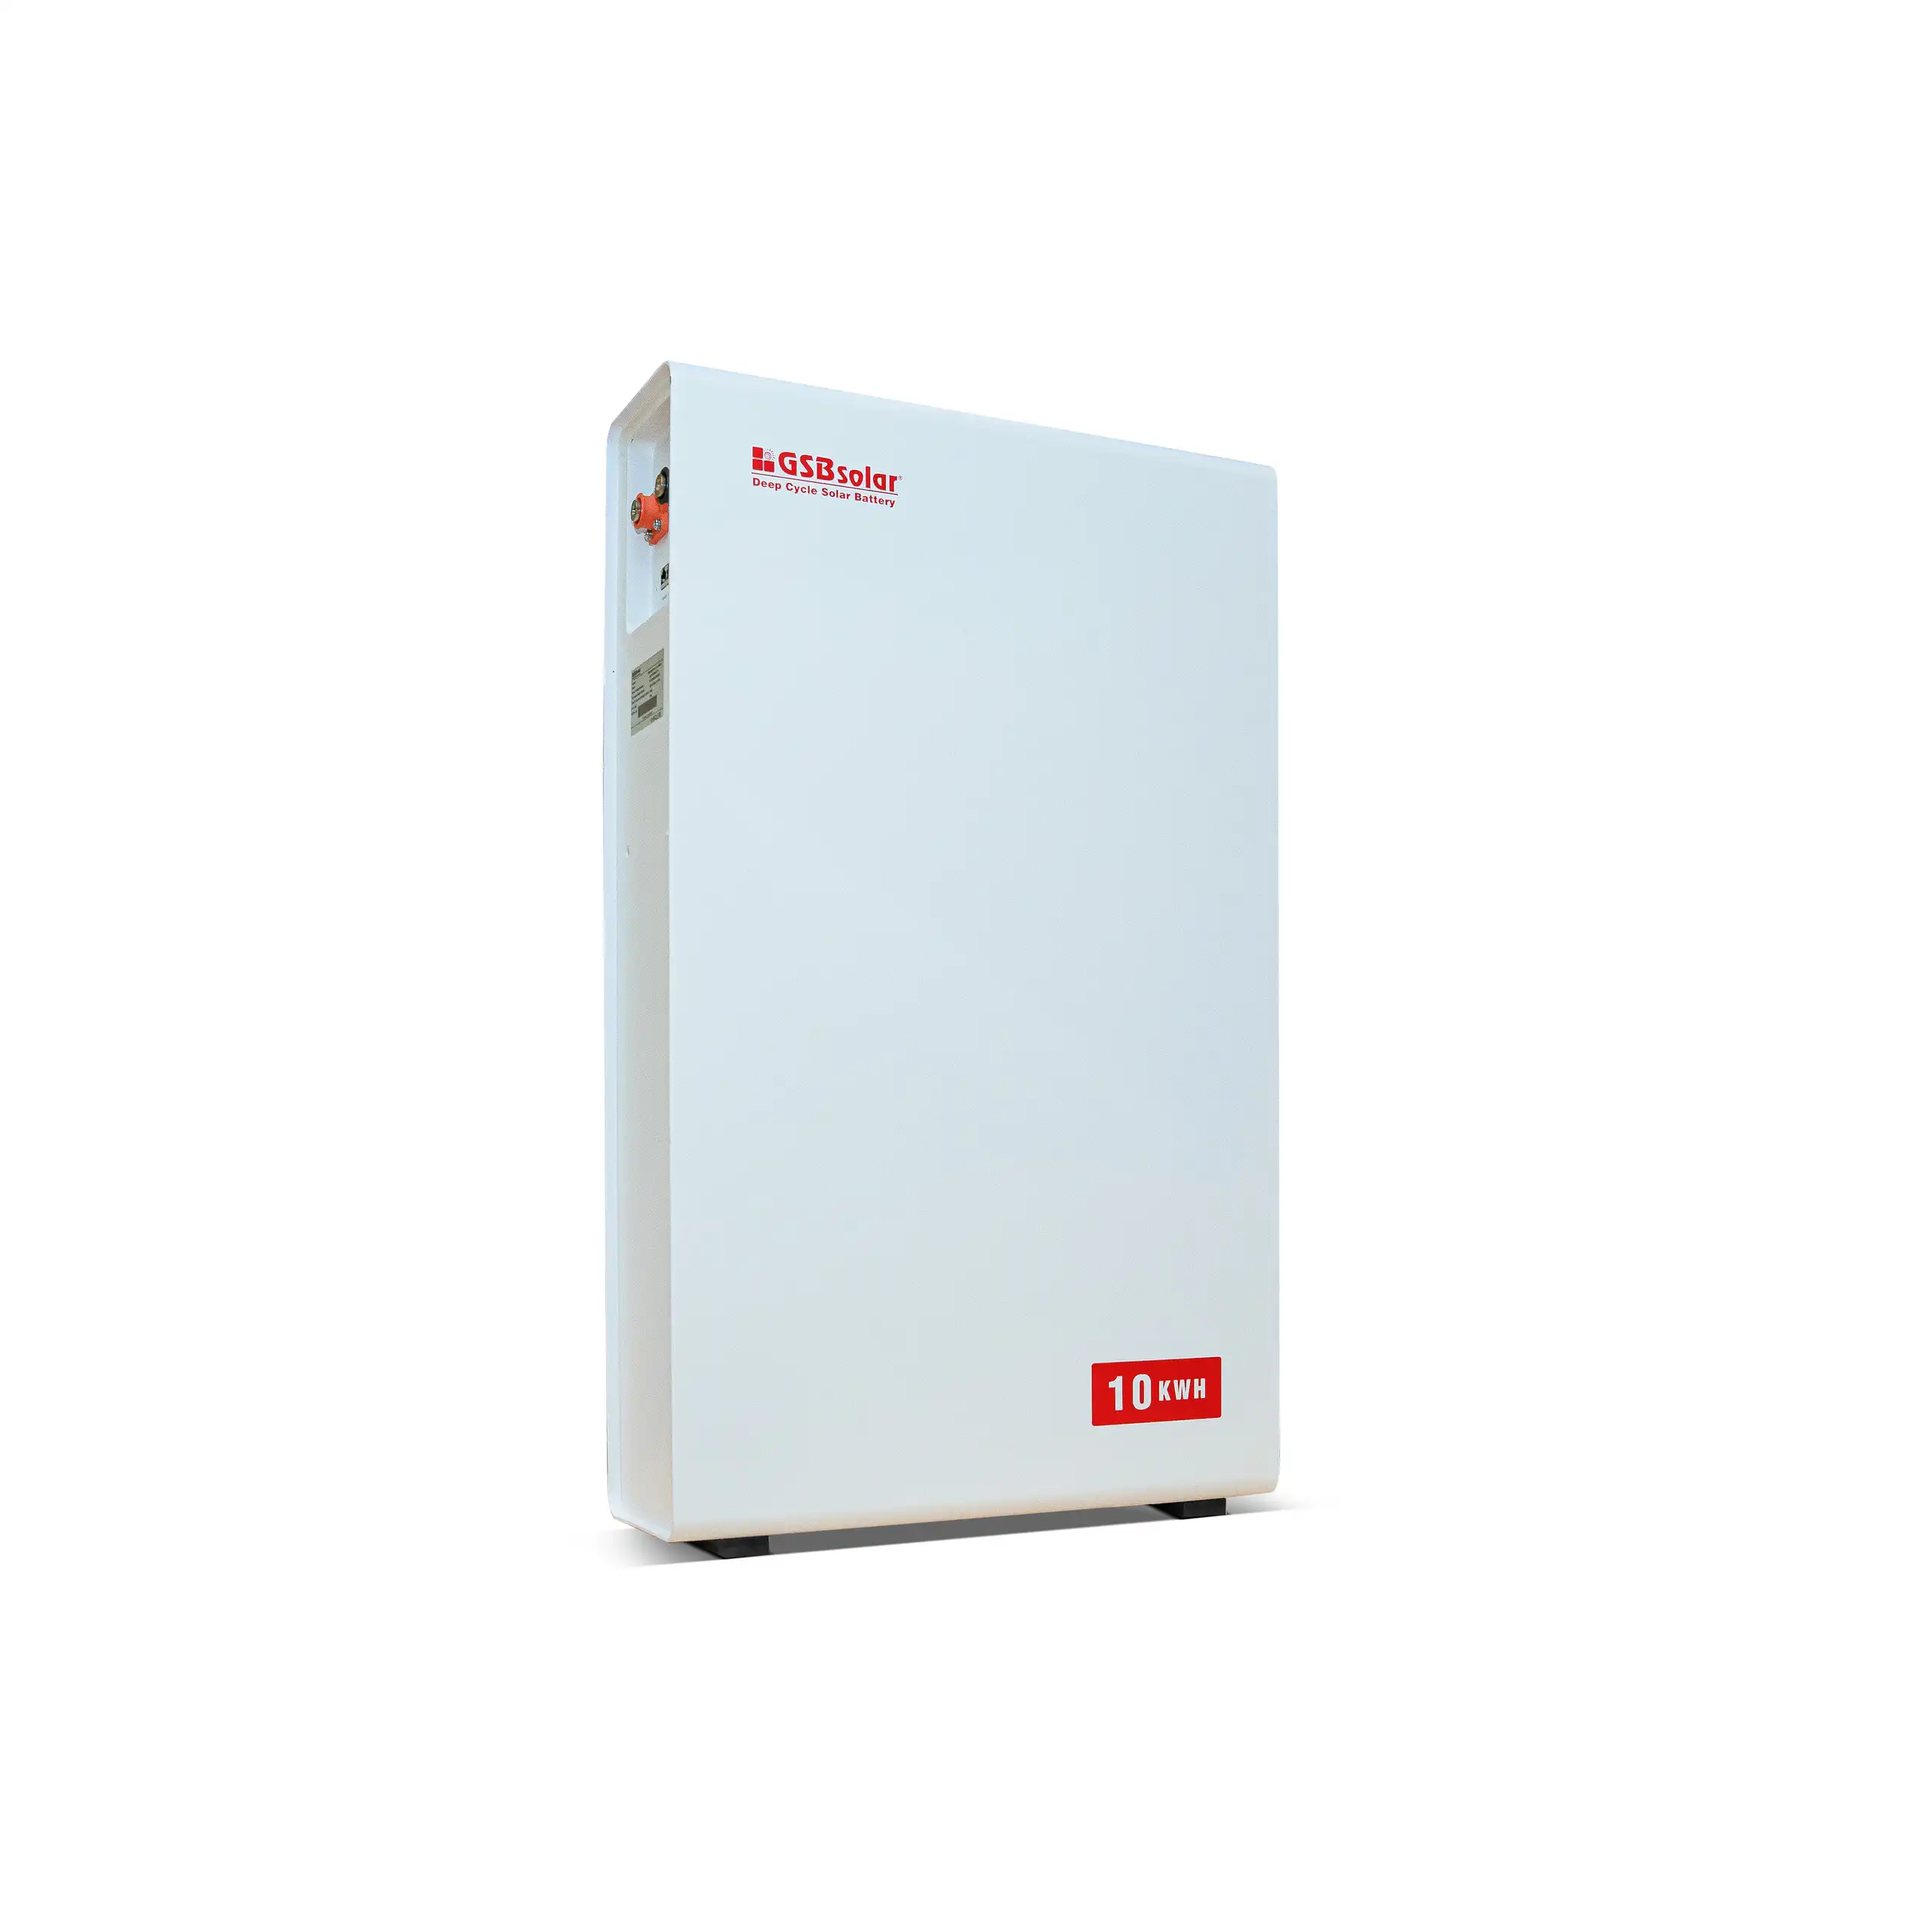
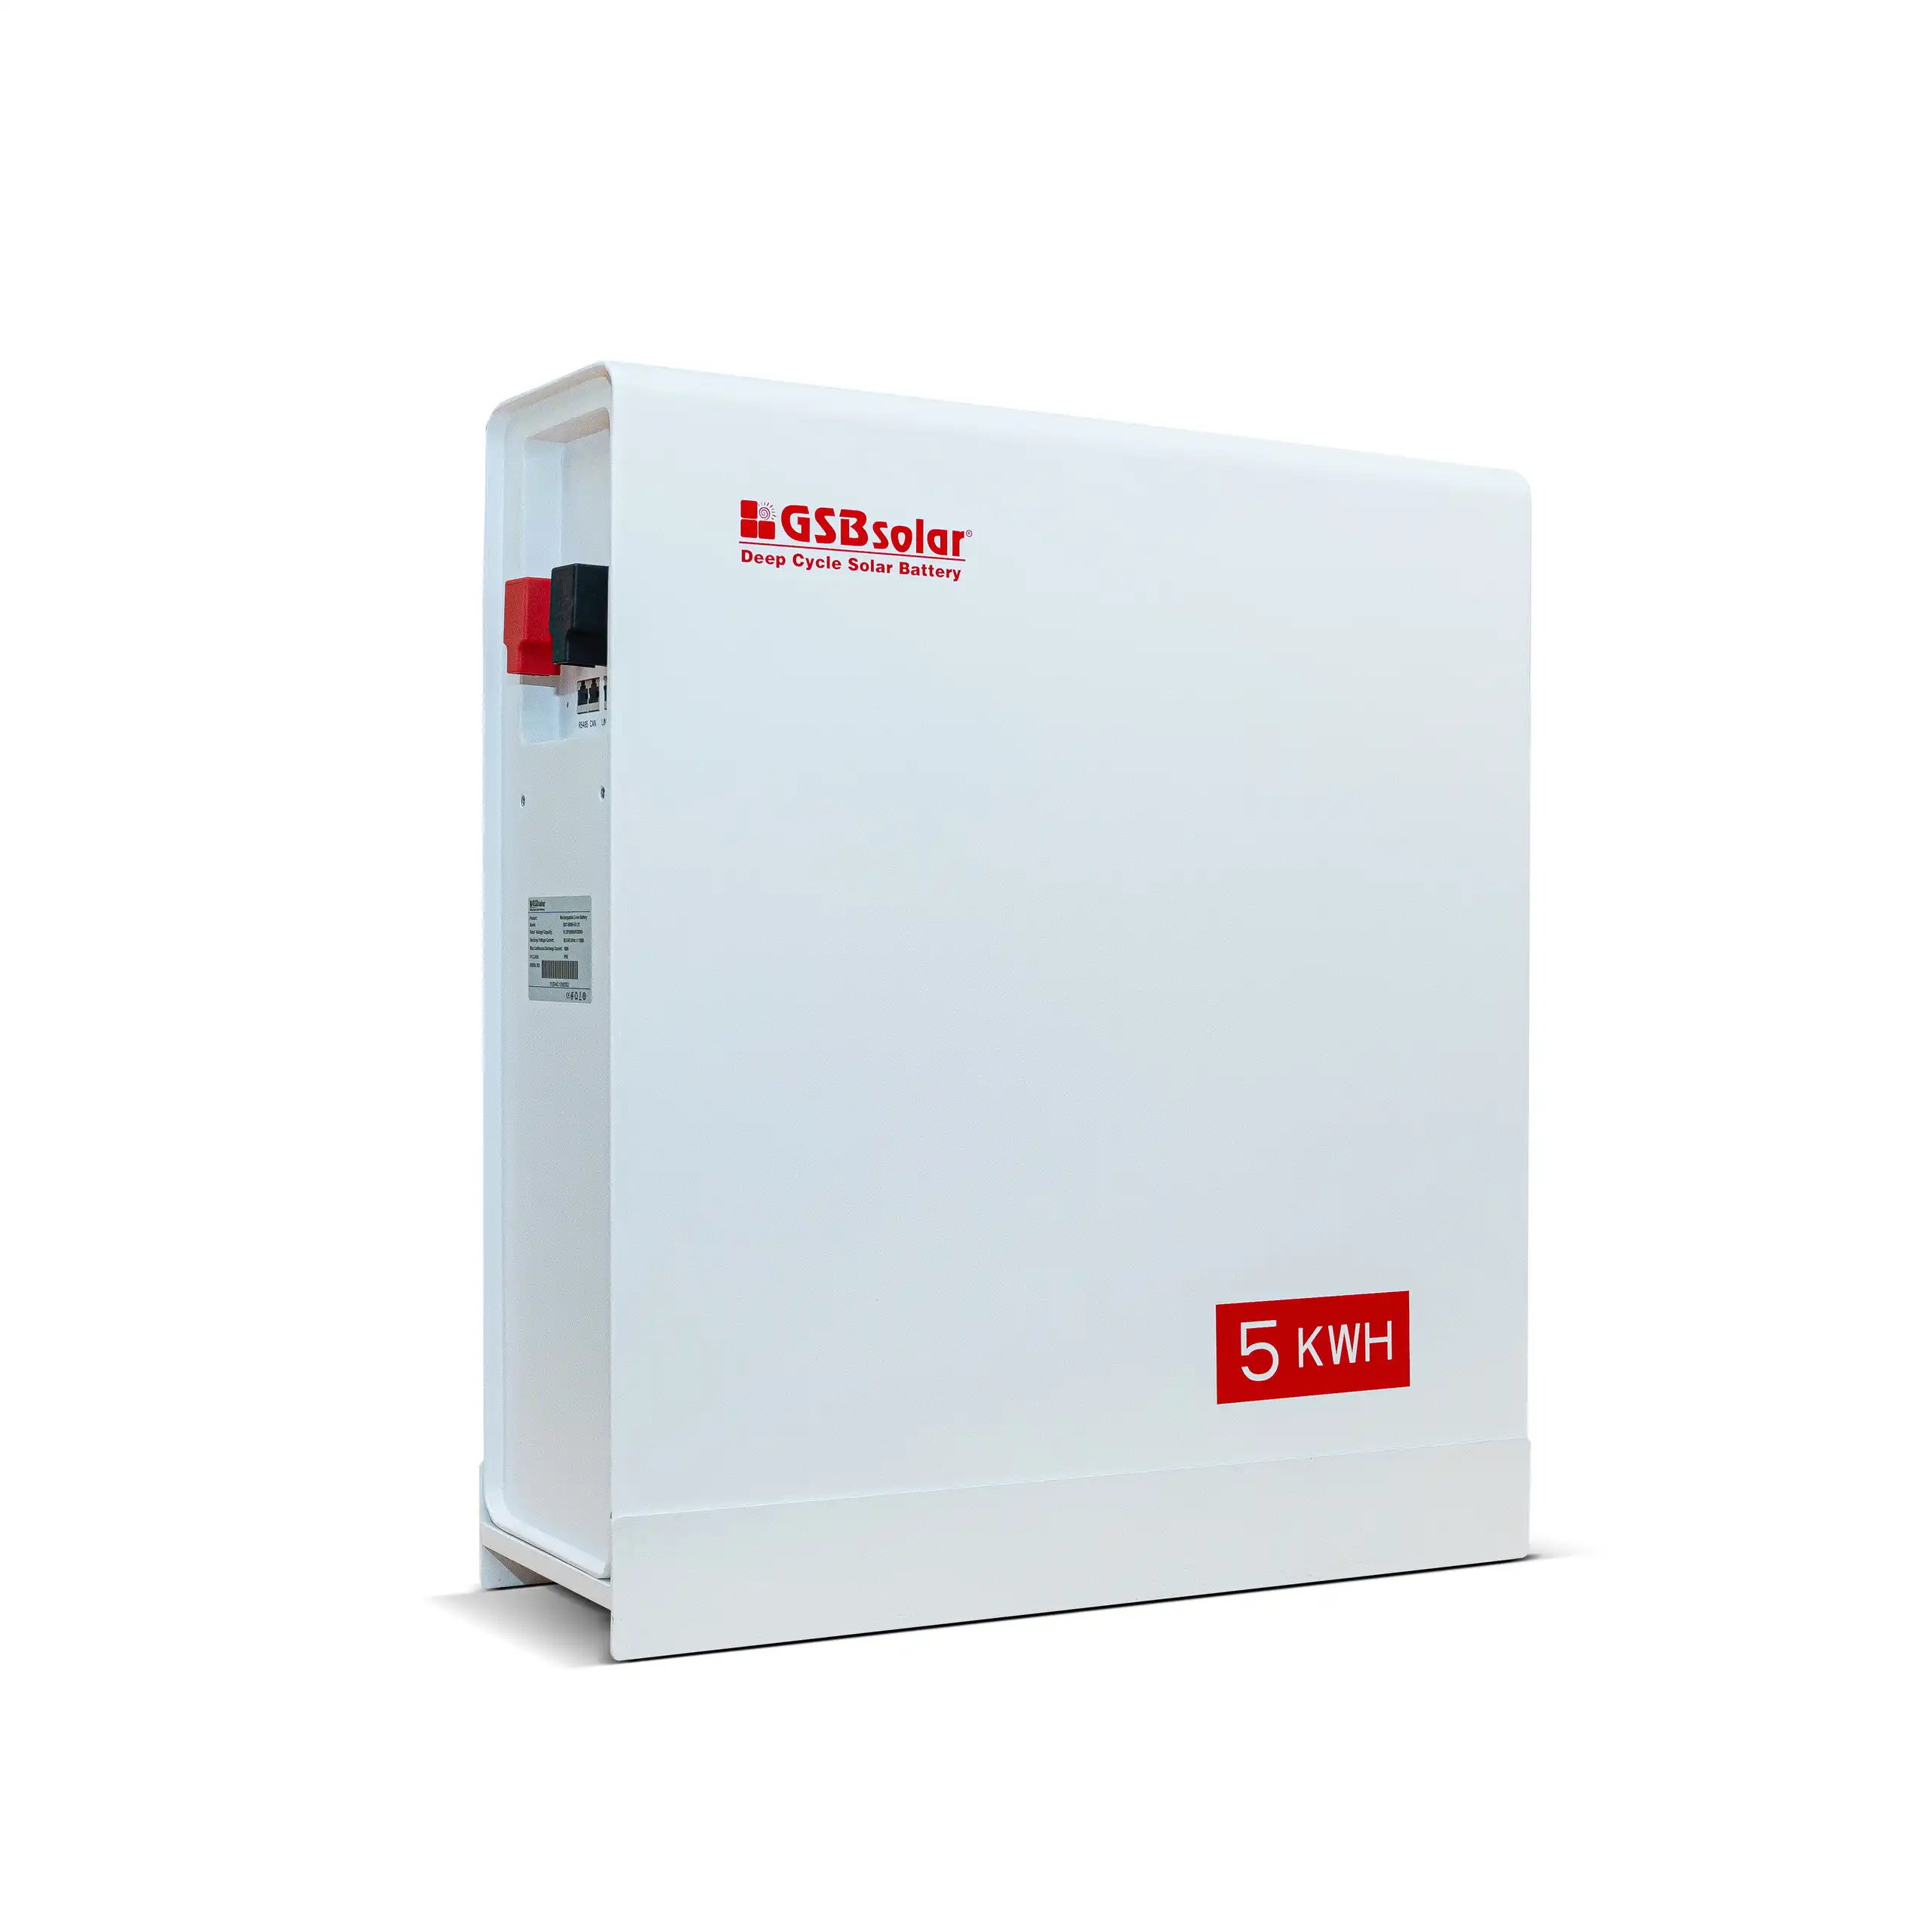
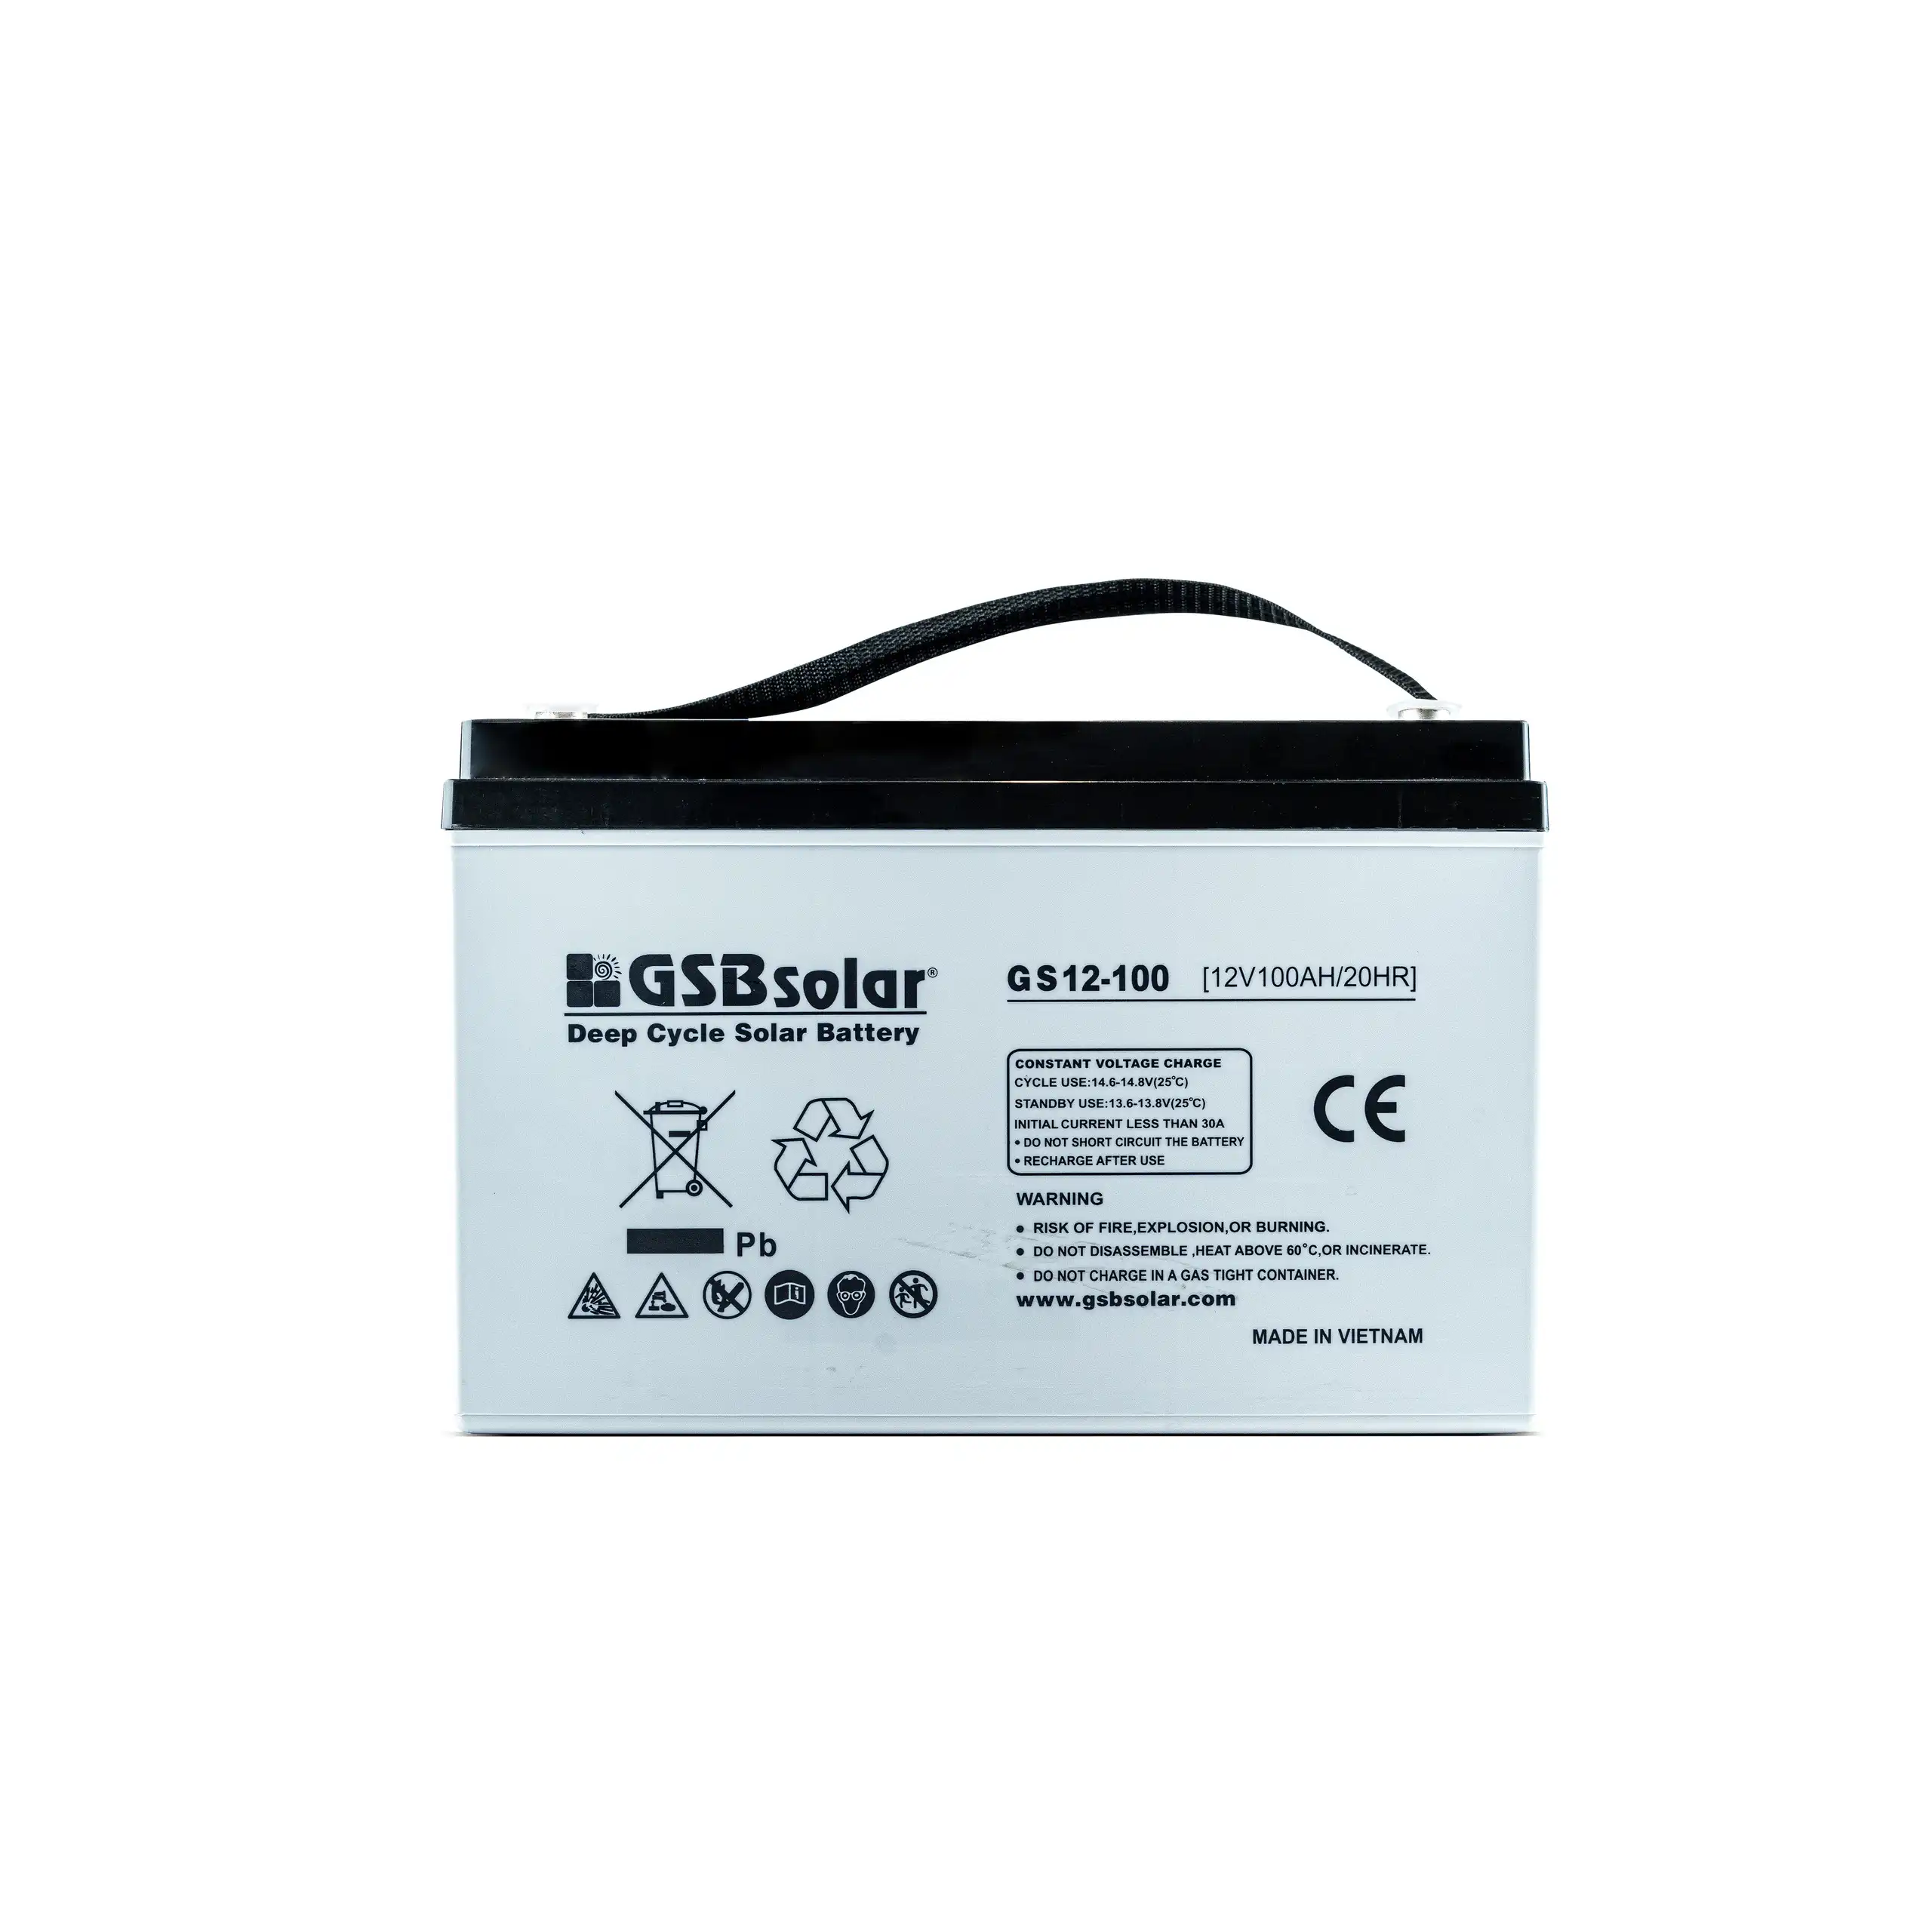
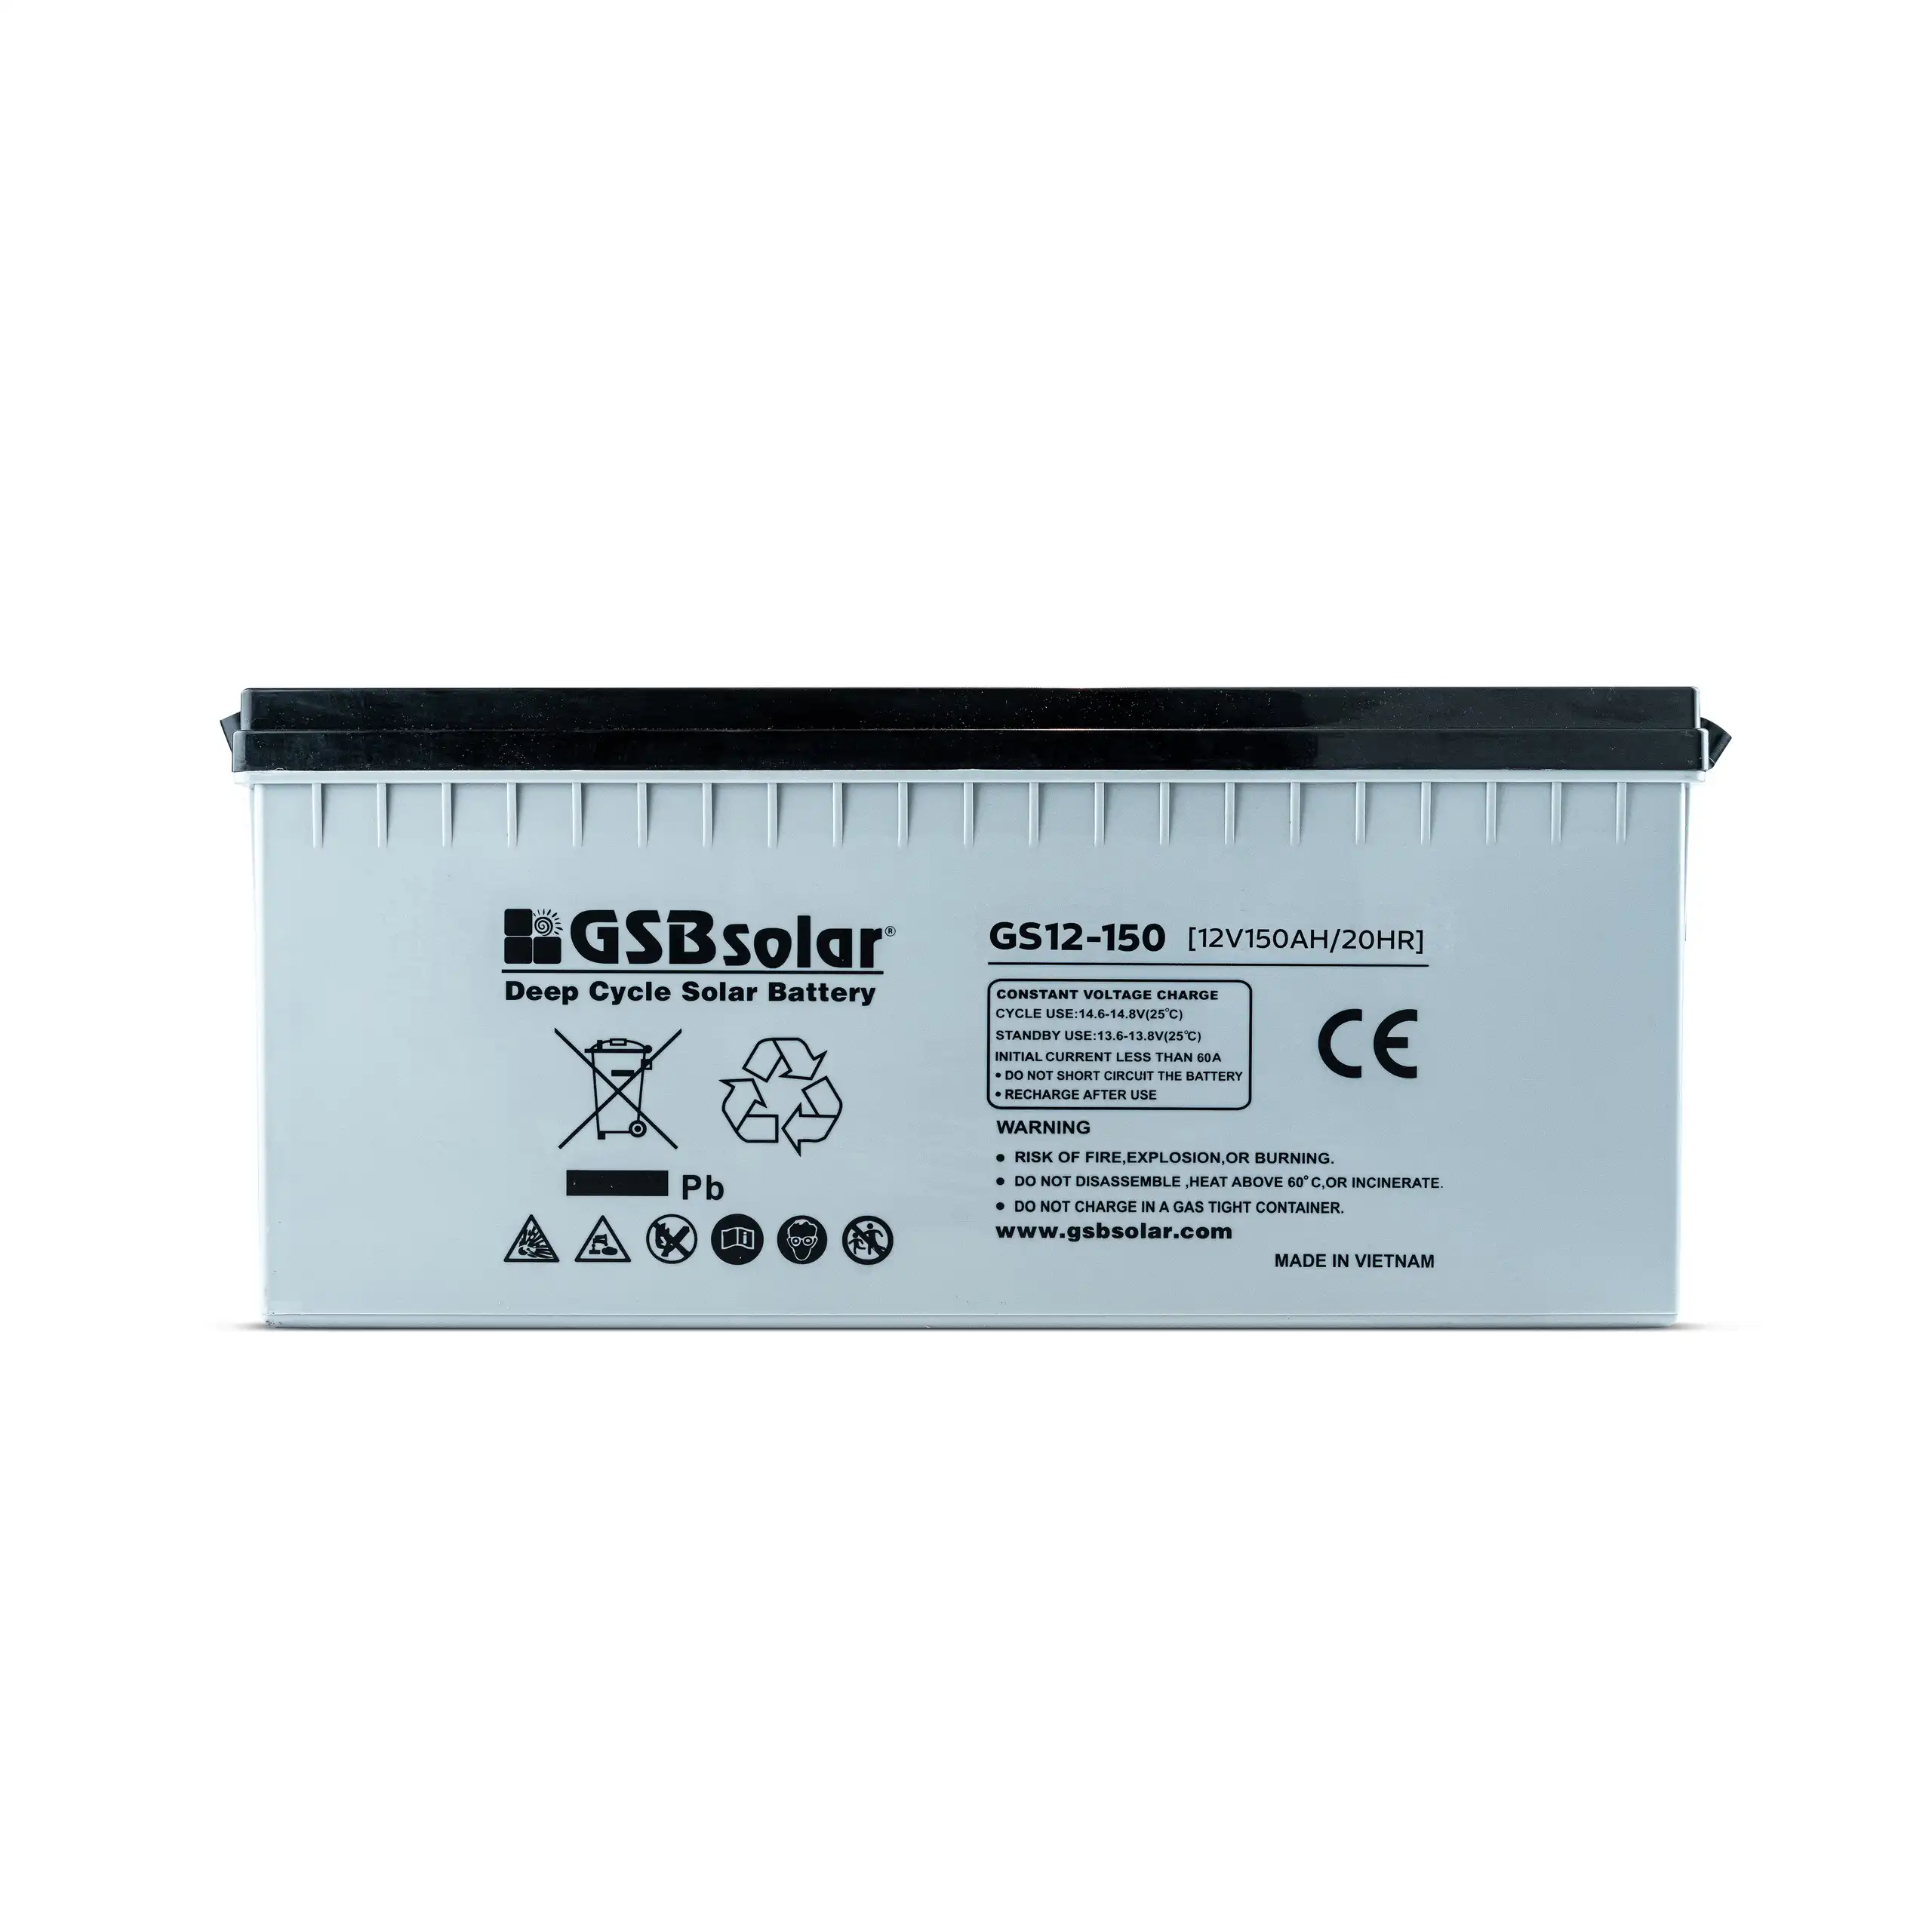
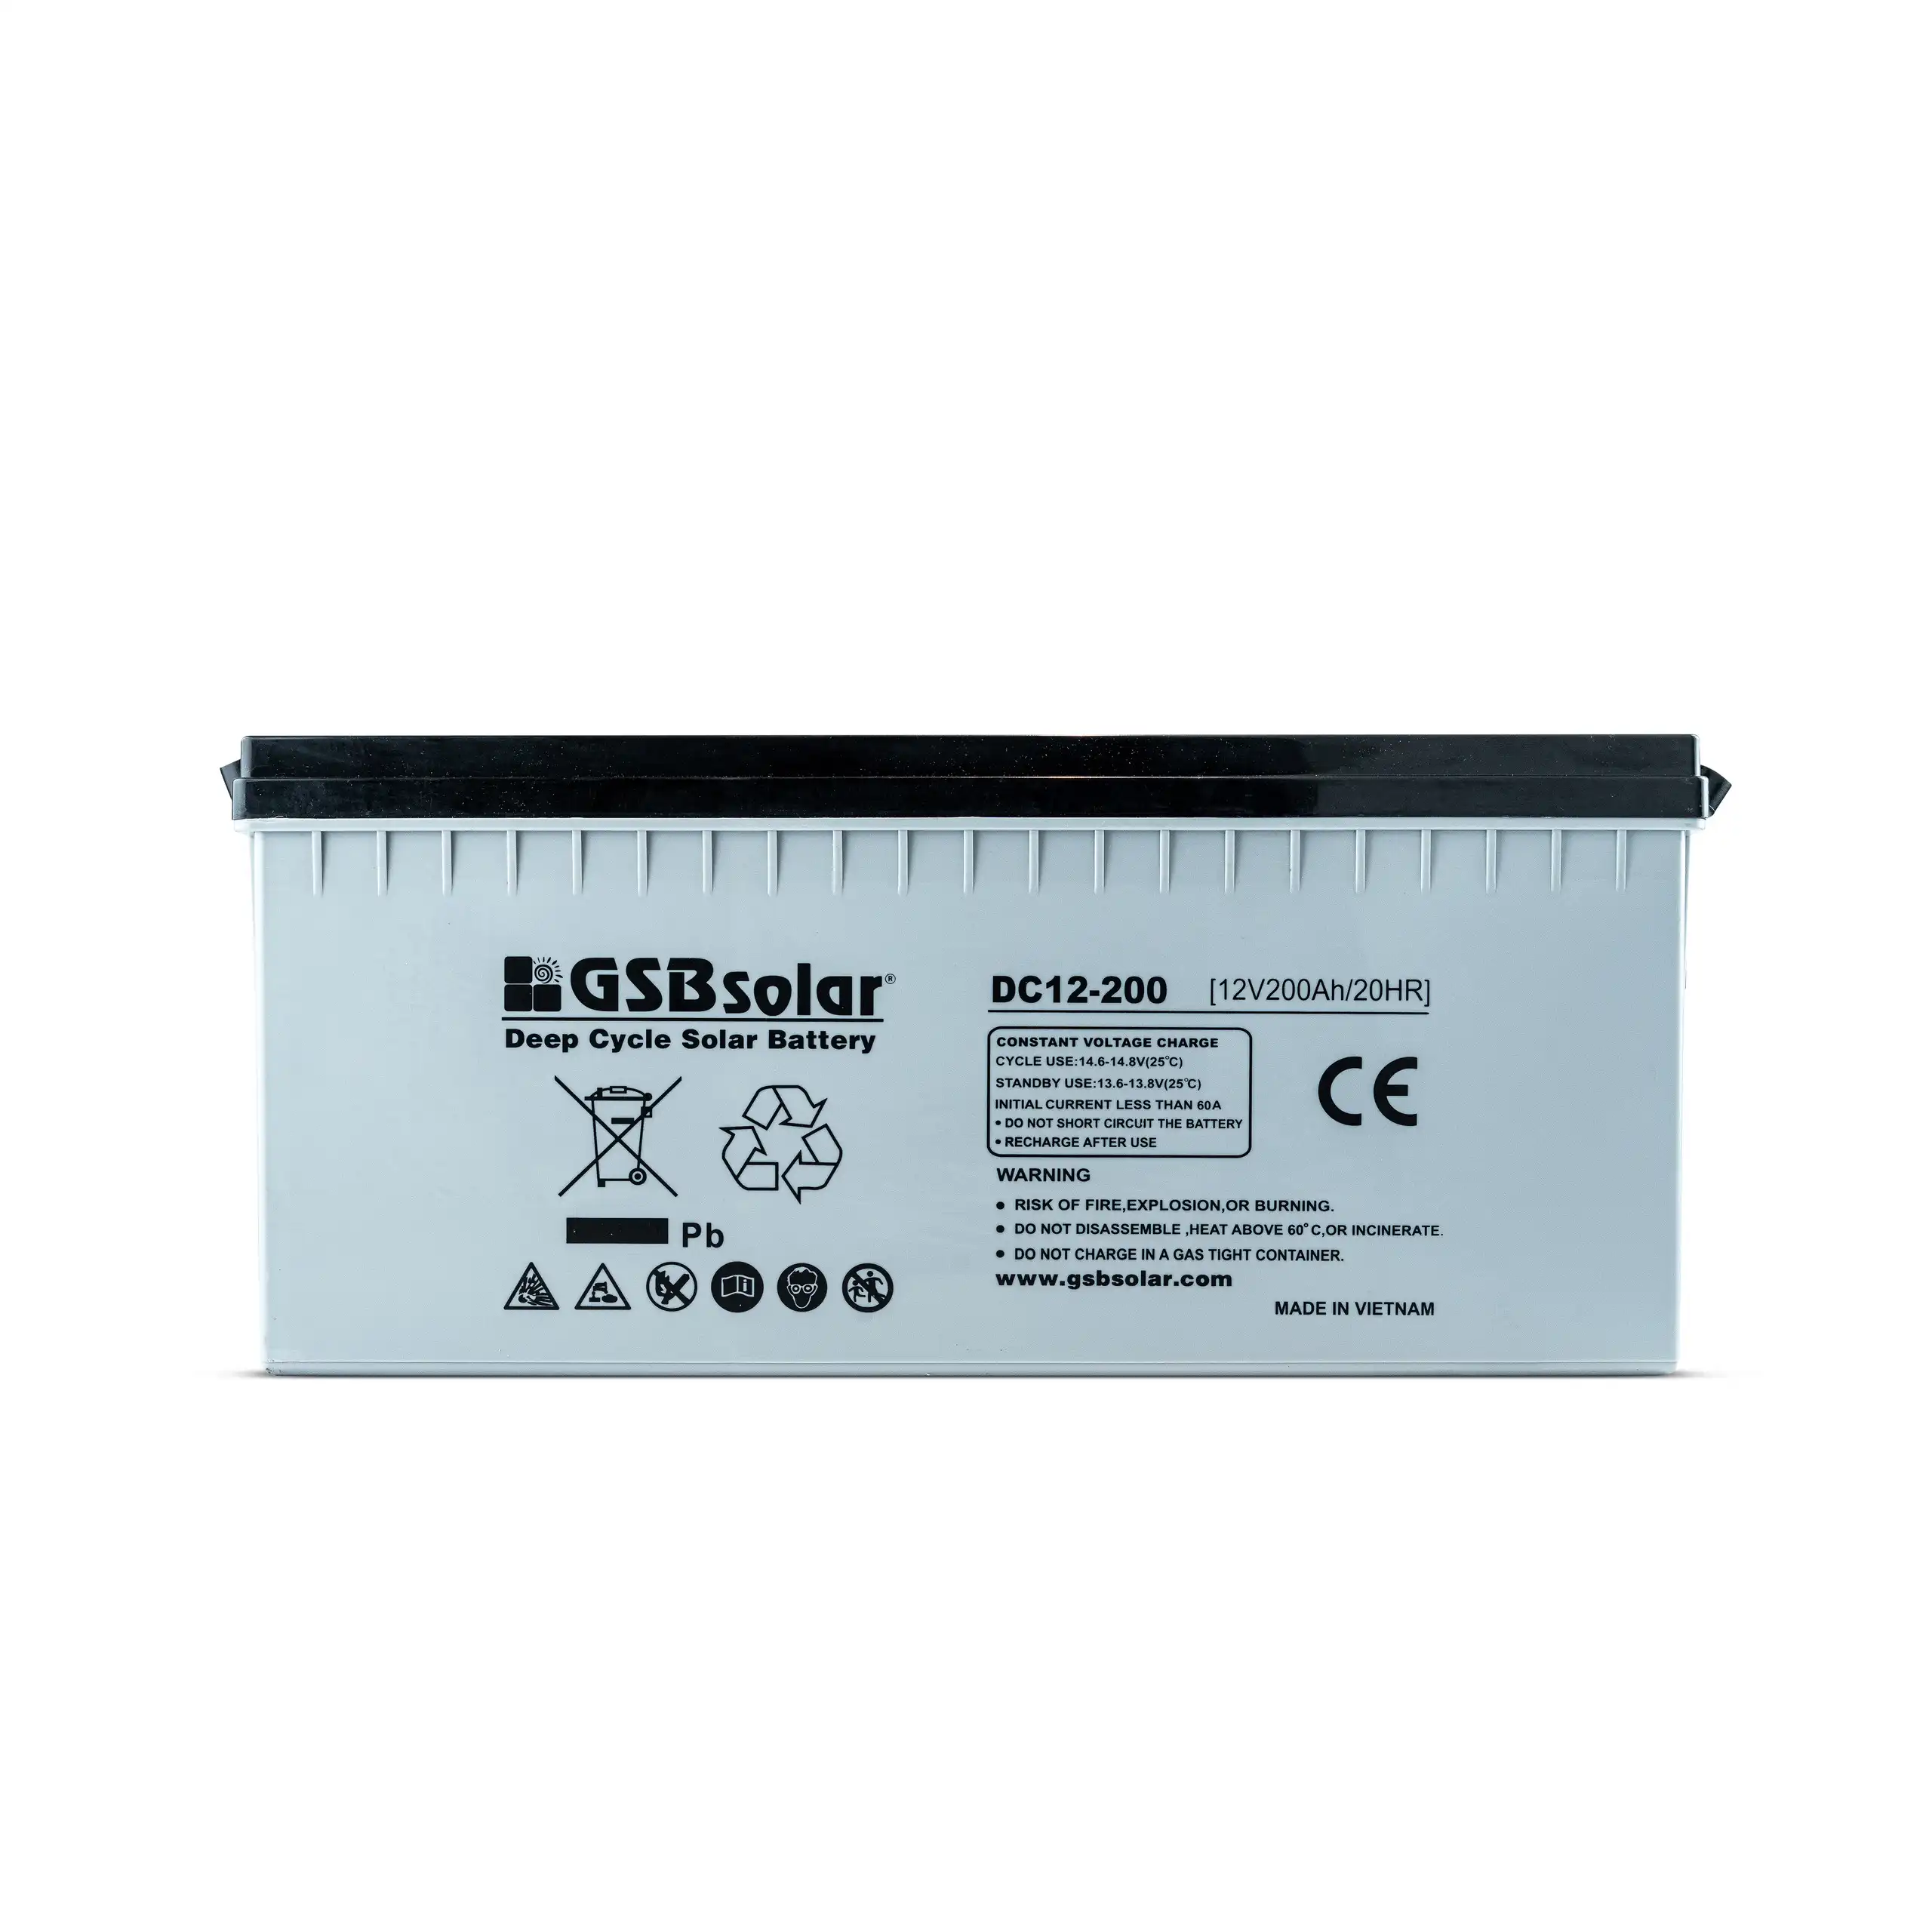
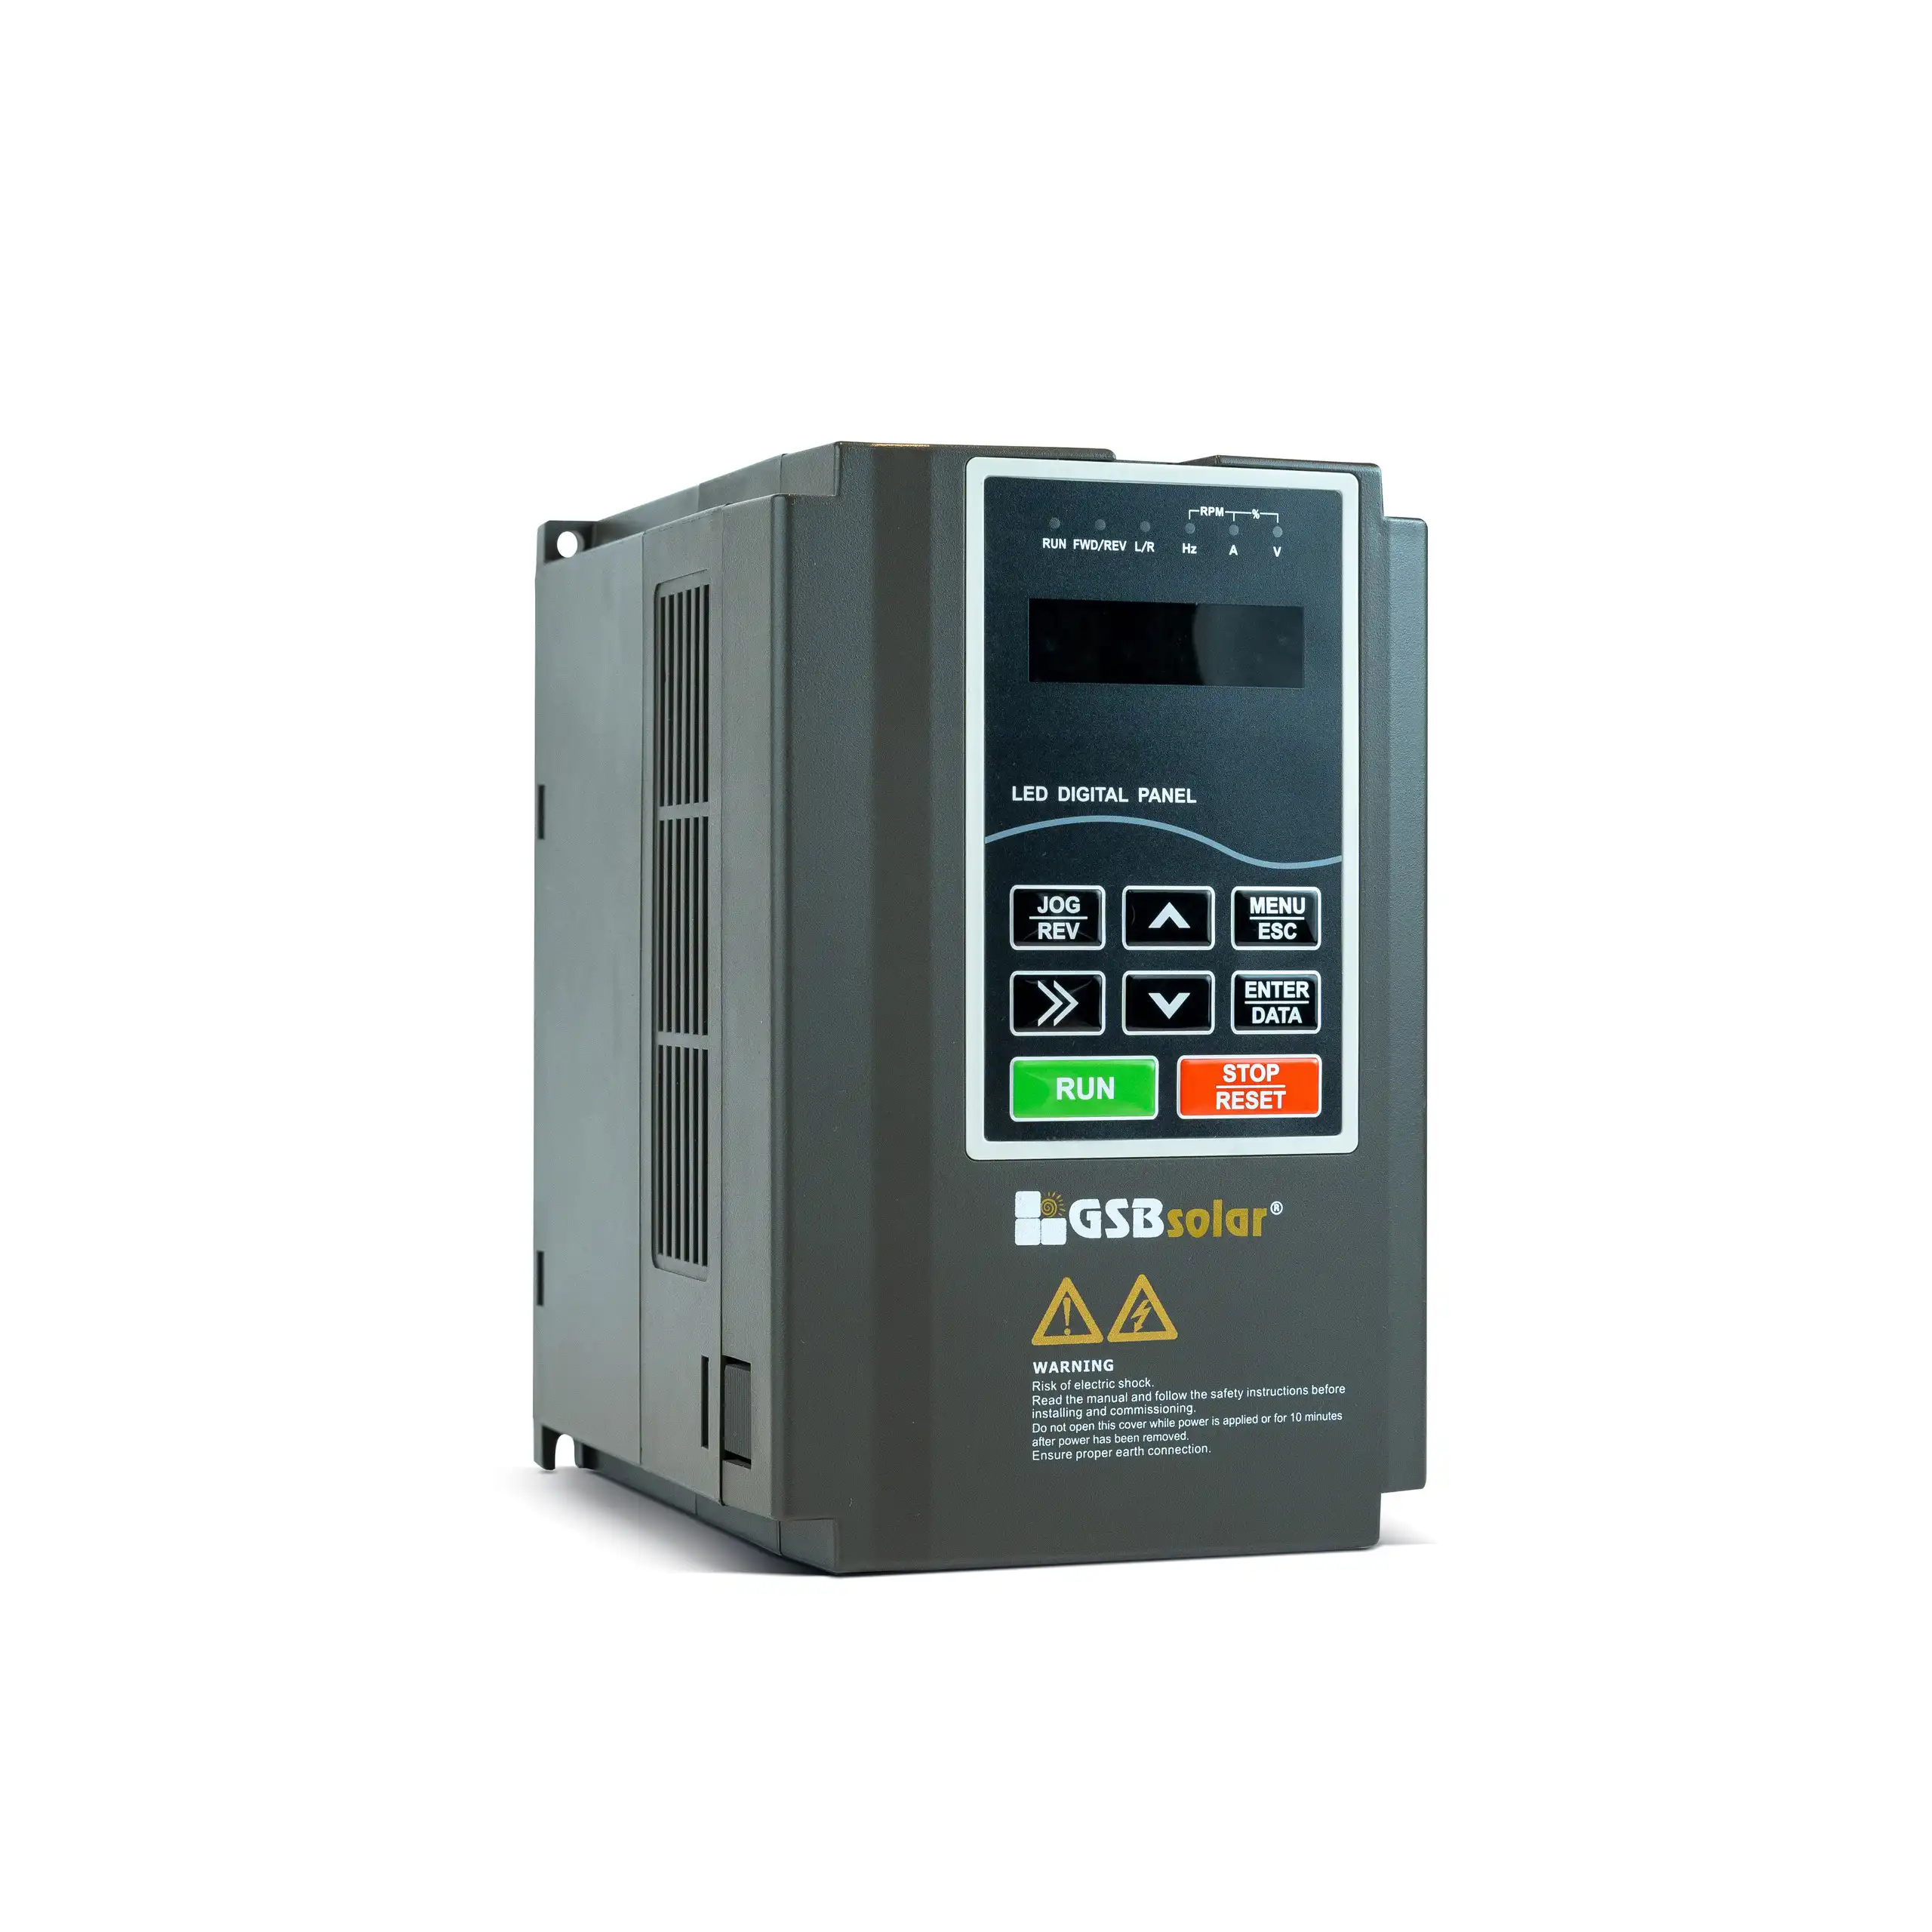
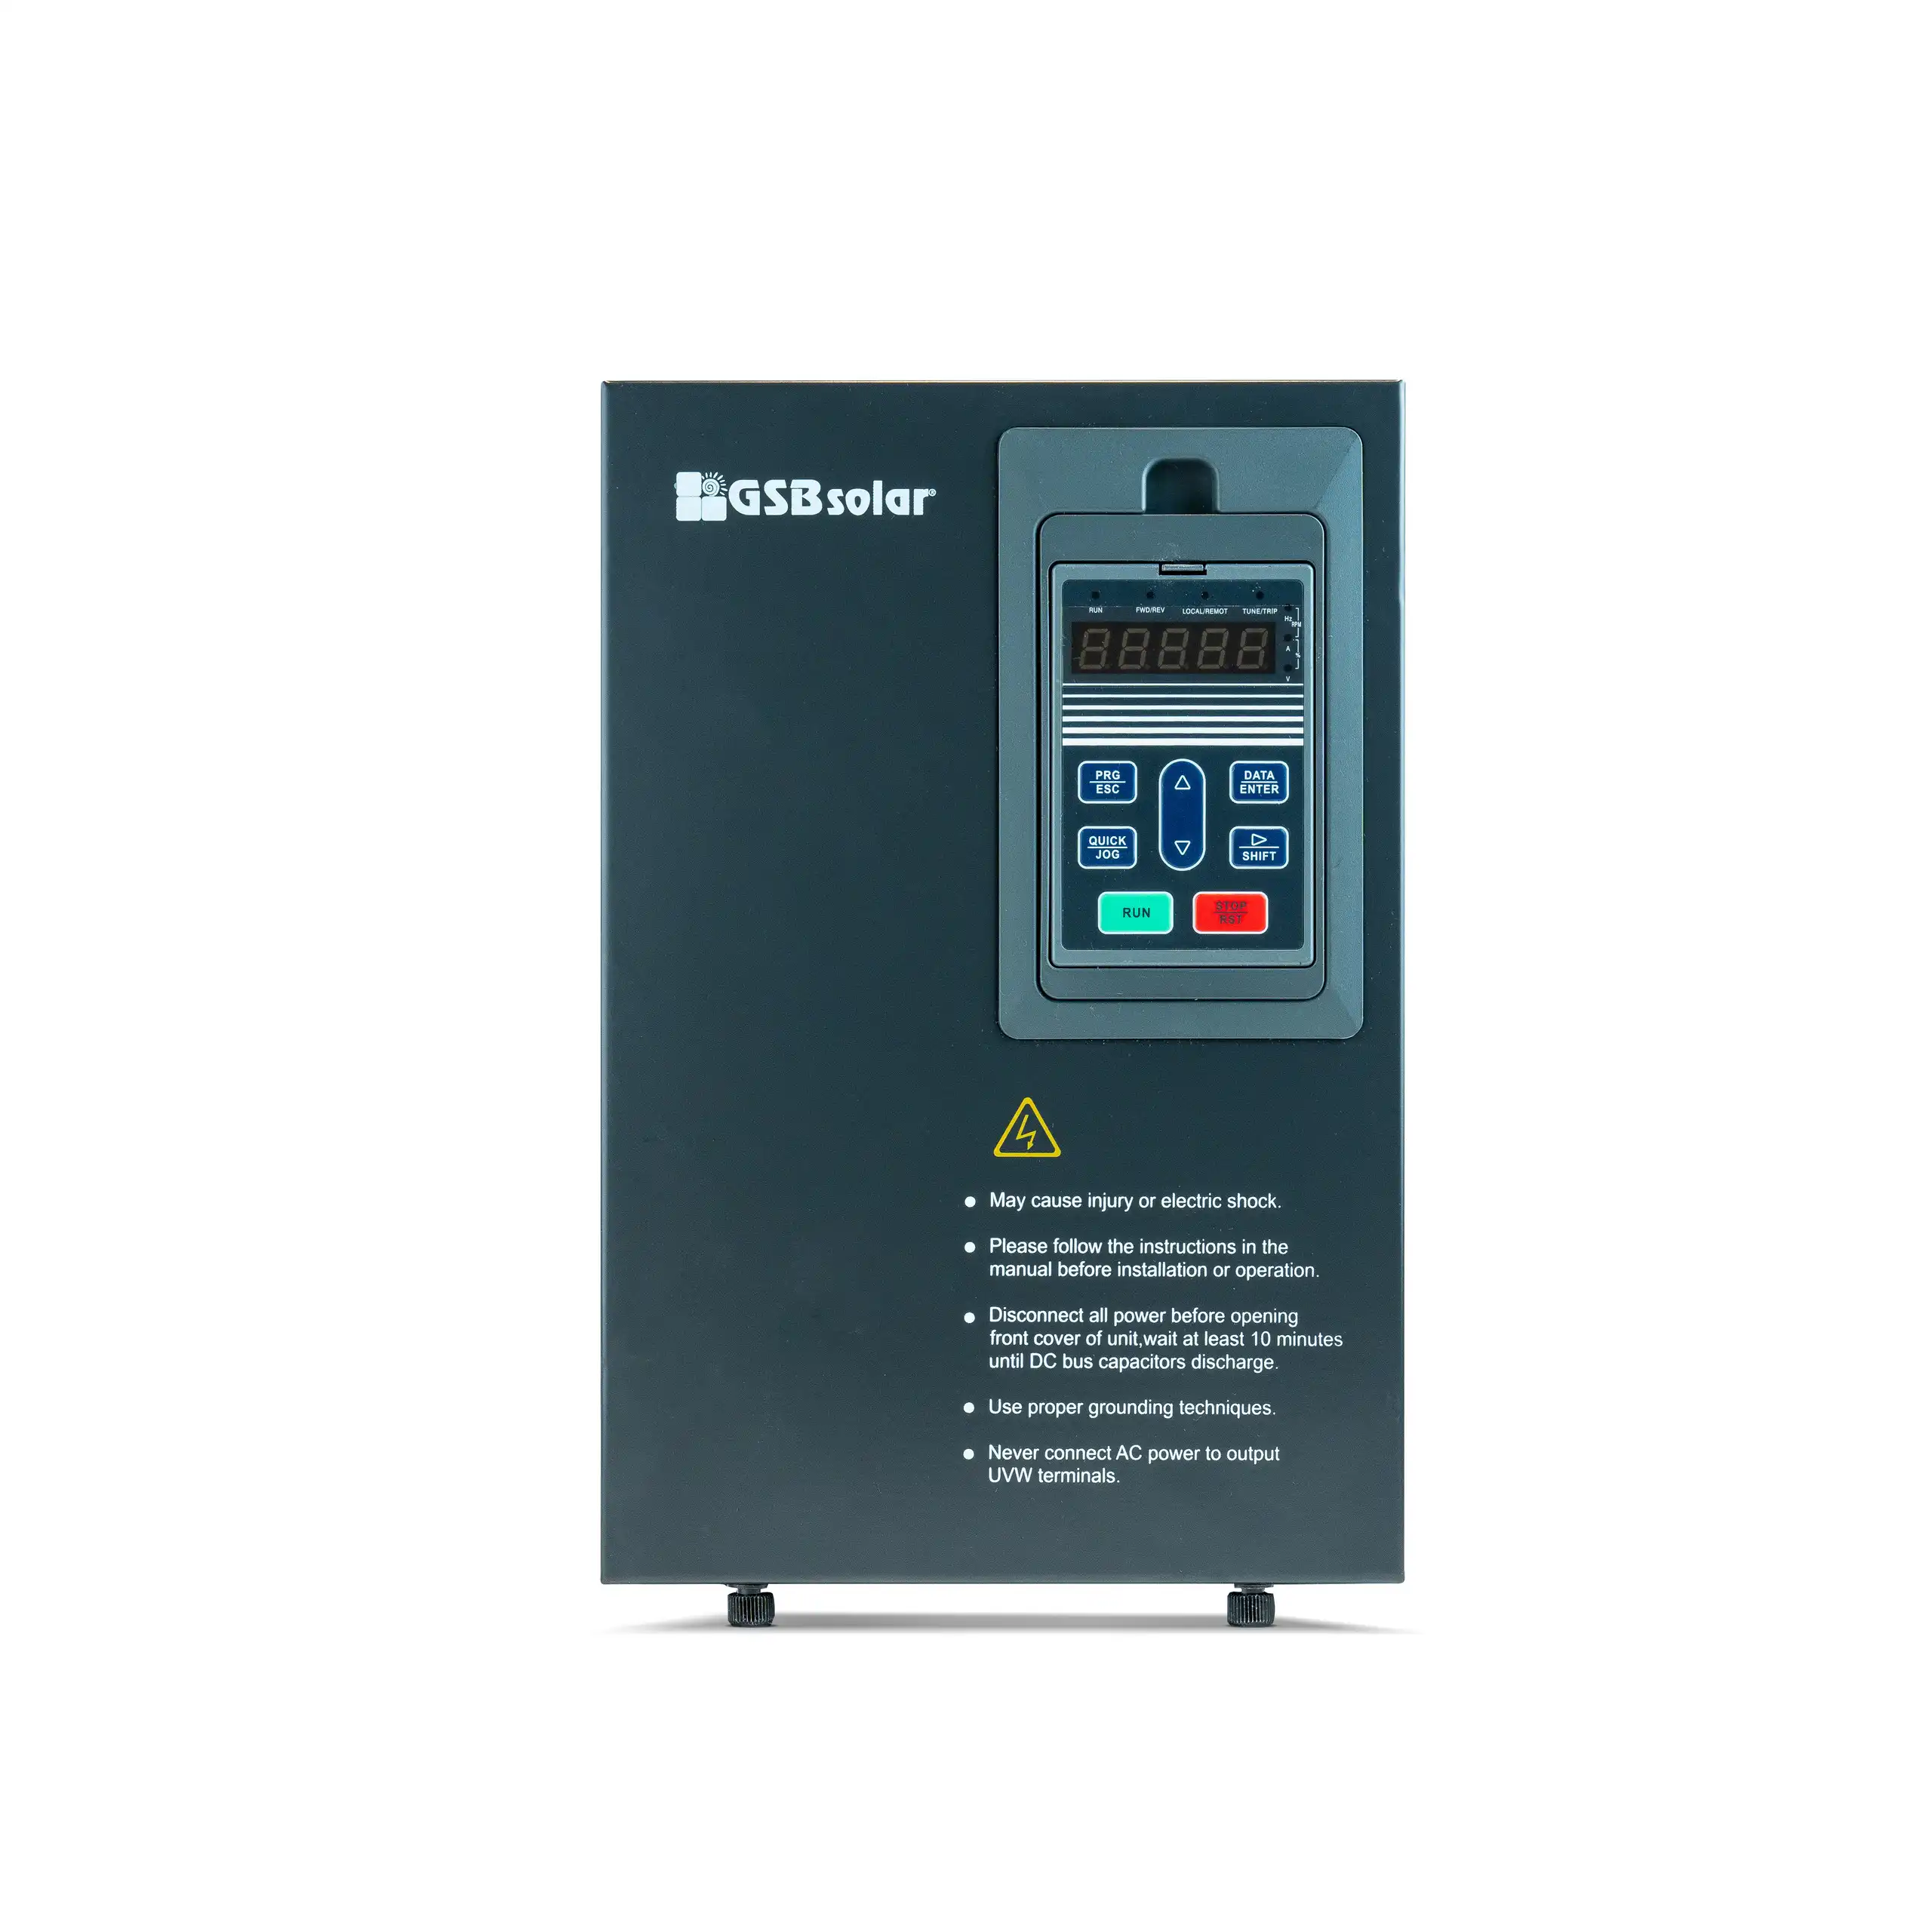
Compare every kit component, not just its panel count. A charge controller must suit the panel array and battery voltage; an inverter should handle the appliances’ running and starting loads. Check whether batteries, mounting hardware, cables, and connectors are included, and confirm cable lengths fit your layout. For occasional phone charging, a compact kit may be enough. A refrigerator needs more storage and careful load planning. It is easy to overlook cloudy days. Recheck the figures.
How to Choose the Best Solar Panel Kit for Your Needs?
Compare panel types, expected output, and the components that make a kit suitable for your intended use.
Solar Panel Type Comparison
| Panel type |
Typical module efficiency |
Common panel output |
Key advantages |
Considerations |
Often suitable for |
| Monocrystalline silicon |
About 20–23% |
Roughly 350–450 W per full-size residential panel |
High power output for the panel area; widely available in residential and portable-kit formats. |
Higher-efficiency modules may cost more; actual output varies with temperature, shading, and orientation. |
Limited roof space, home systems, and buyers seeking high output per panel. |
| Polycrystalline silicon |
About 15–20% |
Roughly 250–350 W per full-size panel |
Established technology with dependable performance in suitable conditions. |
Generally needs more panel area than a higher-efficiency module for the same rated capacity; newer availability varies by market. |
Installations with adequate space where panel cost and availability are priorities. |
| Thin-film |
About 10–13% for common commercial thin-film modules |
Varies substantially by product and panel size; compare the rated watts and dimensions on the specification sheet. |
Can be lightweight or flexible in some product formats; some technologies perform relatively well in diffuse light. |
Lower power per area is common, and flexible products may have different durability and installation requirements. |
Specialty surfaces, lightweight applications, or installations where conventional rigid panels are unsuitable. |
Kit Output and Component Checklist
| Kit factor |
What to compare |
Practical guidance |
| Rated solar capacity |
Total panel wattage under standard test conditions (STC) |
Add the rated wattage of all included panels. For example, two 200 W panels provide 400 W of rated array capacity. |
| Estimated daily energy |
Panel capacity, peak-sun hours, and system losses |
A rough estimate is array kW × peak-sun hours × 0.75. A 400 W array at 4 peak-sun hours produces about 1.2 kWh per day under those assumptions. |
| Charge controller |
Controller type, voltage compatibility, and rated current |
MPPT controllers can harvest more energy than PWM controllers in many system conditions. Confirm the controller supports the array voltage and current. |
| Battery |
Nominal capacity in Wh or kWh, chemistry, and usable capacity |
Compare usable energy rather than nominal capacity alone. For example, a 1 kWh battery with 80% usable capacity provides about 0.8 kWh of usable storage. |
| Inverter |
Continuous output, surge rating, output voltage, and waveform |
Choose a continuous rating that covers the devices used at the same time, and check surge requirements for motors or compressors. |
| Wiring and protection |
Connectors, cable gauge, fuses or breakers, and grounding provisions |
Verify component ratings and installation instructions. Use appropriately rated overcurrent protection and follow local electrical requirements. |
| Mounting and portability |
Roof or ground mounting hardware, panel weight, and cable length |
Confirm the kit includes the mounting parts needed for the intended surface. Portable kits may require separately purchased stands or extension cables. |
Note: Efficiency and panel wattage are typical ranges, not guarantees for every product. Daily energy is an estimate; location, season, shading, panel angle, temperature, and system design can significantly change actual production.
Check System Compatibility, Safety, and Expandability
A solar panel kit is useful only when its parts work together. Check panel voltage and current against the charge controller’s input range, then match the controller to your battery’s voltage and chemistry. A kit labeled “12V” may not suit every 12-volt setup. Labels can mislead. Confirm connector types, cable lengths, and inverter capacity before buying. A small mismatch can reduce output or prevent the system from starting.
Safety deserves equal attention. Look for clear wiring diagrams, suitable overcurrent protection, and specified wire gauges. Place fuses as directed, and keep cables away from sharp edges and hot surfaces. Check that the mounting hardware fits your roof or ground surface. If grounding or household connections are unclear, consult a qualified electrician. Guessing is not a plan.
Consider what you might add later. Check whether the controller can handle more panel current and whether the inverter can manage likely startup surges. Leave room for additional panels or batteries, but do not assume new parts will work with old ones. Compatibility rules can differ. It is tempting to treat “expandable” as “add anything later.” That assumption needs a closer look.
Evaluate Costs, Warranties, and Long-Term Support
Compare the kit’s complete cost, not just its panel price. Include the inverter, mounting hardware, wiring, shipping, and any batteries you need. Lawrence Berkeley National Laboratory’s Tracking the Sun 2024 report puts the 2023 median residential installed price near $3.3 per watt. A kit price is not directly comparable: installation, equipment, and system size can differ. Small print matters. Check whether quoted savings assume ideal sun exposure, and compare prices using the same system capacity.
Warranties deserve equal scrutiny. Separate the panel’s performance warranty from product coverage, and check what the inverter and battery warranties exclude. NREL researchers reviewing nearly 2,000 photovoltaic degradation rates found a median decline of about 0.5% per year (Jordan and Kurtz, Progress in Photovoltaics, 2013). That estimate is useful, not a promise for every roof or climate. Ask how claims are handled, who pays shipping, and whether replacement parts remain available. Long-term support is practical, too: request written response times, troubleshooting steps, and a clear process for obtaining compatible components. A polished warranty can still leave you doing the chasing.